
How to Pace Yourself at High Altitude Using the Talk Test
Use conversation, short steps, fair breaks, terrain adjustments, and a return-based turnaround to control effort.
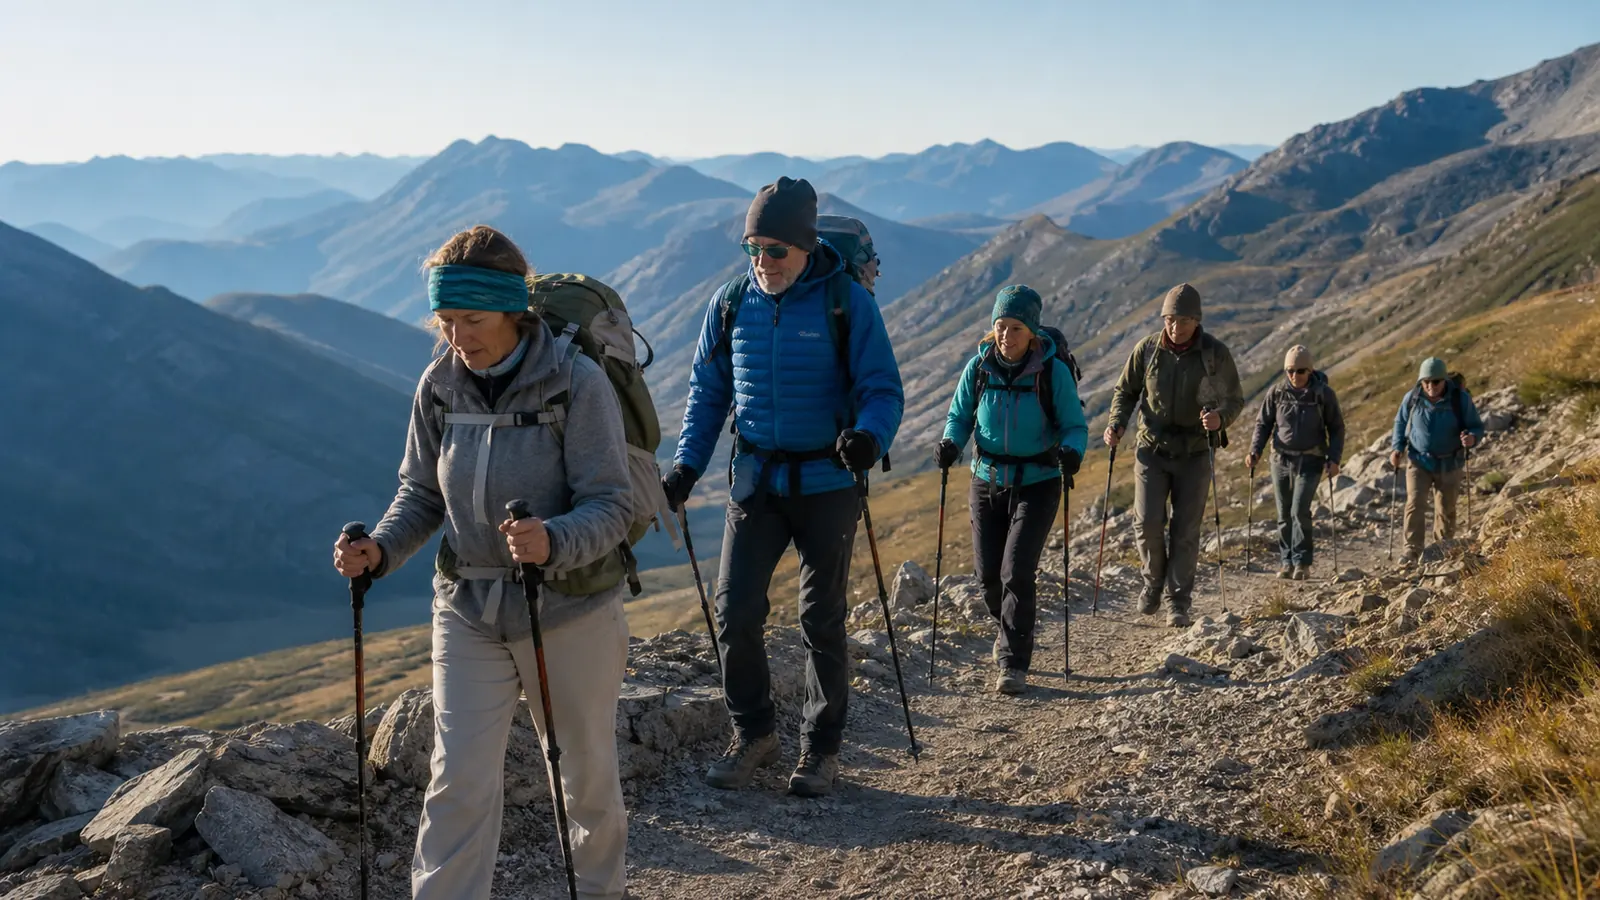
Pace yourself at high altitude by starting at a conversational effort, shortening your stride on climbs, and letting speed change with terrain. The slowest hiker sets the group pace, and symptoms should stop ascent rather than trigger another pace adjustment.
The best high-altitude pace is not a fixed speed. Start slowly enough to speak a full sentence, use small steady steps on climbs, and slow down before your breathing becomes ragged.
Speed will change with slope, surface, pack weight, and elevation. Keep the effort steady instead. If ordinary exertion does not settle after a short pause, check for altitude symptoms rather than forcing a slower march.
Conversation
You can speak a full sentence while walking.
Recovery
Breathing begins to settle after a short pause.
Control
Your stride stays stable without stumbling or repeated surges.
Group margin
The slowest hiker gets a real break and the return remains protected.
Conversation is the first pace gauge.
Set your effort with the talk test
Walk at a speed that lets you speak a full sentence without gasping between words. The National Park Service uses this talk test as a simple sign that walking speed is appropriate.
The test is more useful than a fixed miles-per-hour target. A 2 mph pace can feel easy on a smooth valley trail and too hard on steep loose ground at 12,000 feet.
Ask a real question and listen to the answer. A single “yes” proves little. If the person cannot finish a normal sentence, shorten the stride and reduce the pace.
After a short pause, ordinary exertional breathing should begin to settle. If it does not settle or a new symptom appears, stop treating the problem as pace.
The high-altitude day-hike checks help with a one-day outing. A trek adds repeated stages, sleeping elevation, and incomplete overnight recovery.
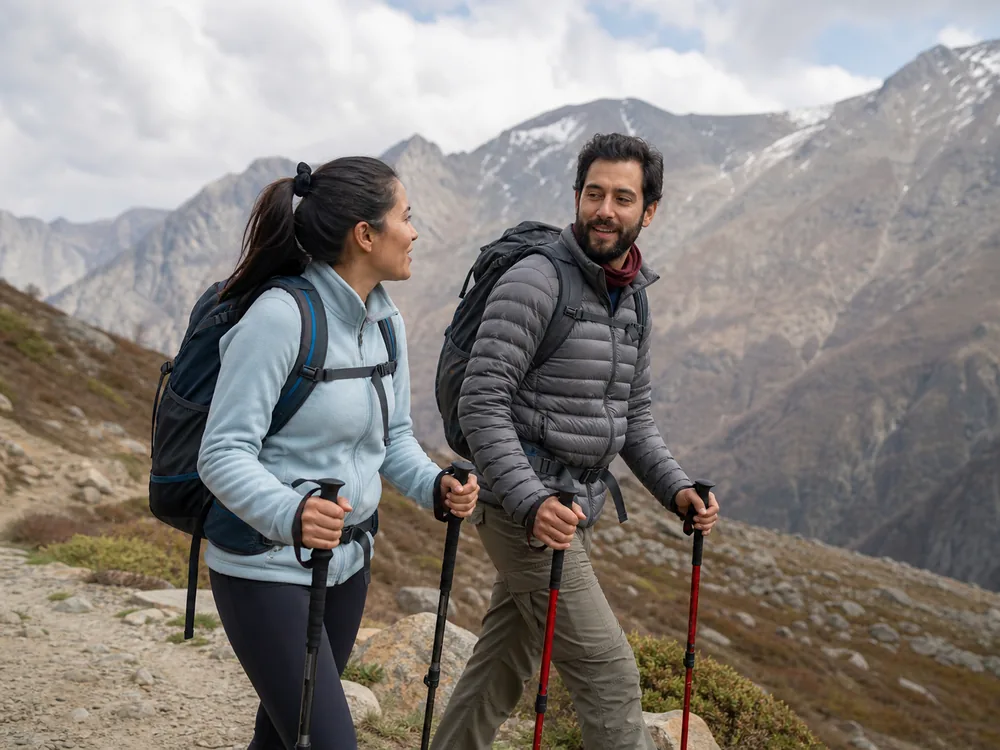
Walk by effort, not ego or speed.
Start slower than your legs want to go
Fresh legs can hide an unsustainable start. Your muscles feel ready, the group is excited, and the first landmark looks close. Breathing may lag behind the decision to accelerate.
Begin with an easy conversational walk. Keep the first ten minutes below the effort you expect to hold later. Use that time to check pack fit, temperature, foot comfort, and how the group responds to elevation.
- Begin easyUse a conversational effort from the first step.
- Shorten earlyReduce stride before the first sustained slope.
- Check after ten minutesAsk about breathing pack fit temperature and symptoms.
- Settle the groupPut the slowest sustainable walker near the front.
- Increase only if stableMake one small change rather than a sudden surge.
A heavy pack raises the cost of each acceleration. If the load pulls backward or bounces, fix it before climbing. Put most of the load on the hips without tightening the shoulder straps enough to restrict breathing.
Starting slowly feels almost too easy. That is useful. You are preserving a pace that can survive a longer grade, a headwind, and the work still waiting after lunch.
Choose a first route with short adjustable stages. The beginner trekking structure leaves room to discover how the group moves at elevation without depending on one ambitious day.
The first twenty minutes set the debt for the next hour.
Climb with small, steady steps
On a sustained climb, shorten your stride before breathing spikes. Keep a comfortable rhythm and let speed fall.
Small steps reduce the force and balance demand of each movement. The Austrian Alpine Club recommends a deliberately slow, steady pace and small steps on steep mountain trails.
Short stride
Reduces the work and balance demand of each step.
Even cadence
Prevents repeated bursts followed by long recovery stops.
Early slowdown
Lowers effort before a steep pitch drives breathing out of control.
Light pole use
Adds balance without turning every step into an arm pull.
Gradual restart
Avoids a surge after a crossing obstacle or photo stop.
Planned regroup
Stops faster hikers from racing far ahead and waiting cold.
Keep your feet under your body. Bounding onto tall rocks or taking two trail steps at once costs more and can destabilize a loaded trekker.
Trekking poles can improve balance, but pushing hard through the arms raises total effort. Plant them lightly and close enough that your shoulders remain relaxed.
After an obstacle, rebuild the rhythm over several steps. A hard acceleration after every stream crossing, gate, or photo stop creates yo-yo pacing.
The trekking training plan should prepare your legs for climbs and repeated days. On the trail, the safe movement is often a shorter stride with fewer unnecessary stops.
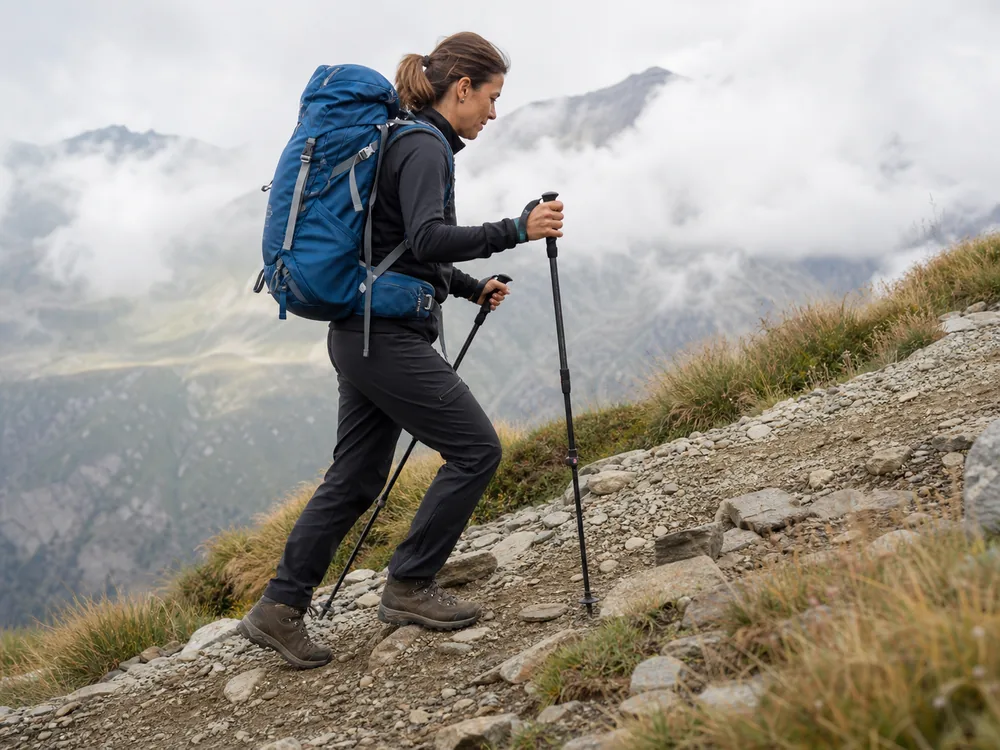
Steady is a movement pattern, not a number on a watch.
Use breaks before you need a rescue stop
Take short planned breaks before fatigue forces a long collapse. The Austrian Alpine Club recommends short rehydration breaks about every hour.
That timing is a reference, not a timer you must obey. Heat, cold, slope, group needs, and access to a safe stopping place change the interval.
| Break type | Purpose | Restart rule |
|---|---|---|
| Micro-pause | Let breathing settle for a few breaths | Resume below the previous effort |
| Drink break | Take water and check the group | Keep it short in cold or wind |
| Food stop | Add energy before a large decline | Eat before appetite disappears |
| Layer stop | Prevent sweat or cold exposure | Adjust before the next terrain change |
| Symptom stop | Assess headache nausea dizziness or unusual fatigue | Do not continue upward until the cause is addressed |
Stay standing or lean on poles during a brief reset if it is safe. Sitting for every pause can make the stop longer and the restart harder.
On a cold ridge, add insulation immediately during a longer break. On a hot exposed slope, use shade where available. The body cools or heats even while the clock says “rest.”
The stop-layer and recovery habits used for winter trekking are useful whenever a high route is cold or windy. A break should restore the group without soaking or chilling anyone.
Give the slowest person a full break. If faster hikers rest while waiting, then leave as soon as the last person arrives, the slowest person never recovers.
Keep food and water reachable. The trekking food rhythm is easier to follow when a snack does not require opening every bag.
Break before the pace breaks you.
Change pace when terrain changes
Hold effort steady and allow speed to change. Steep switchbacks, loose rock, tall steps, snow, and descent each add a different cost.
| Terrain | Pace adjustment | What to watch |
|---|---|---|
| Gentle grade | Resume conversational rhythm | Group spacing and breathing |
| Steep switchbacks | Shorten stride before the turn | Surging out of each corner |
| Loose rock or scree | Slow for deliberate foot placement | Sliding stones and wasted steps |
| Tall constructed steps | Use smaller placements where possible | Repeated high knee lifts |
| Descent | Control speed and keep a margin | Tired legs poor footing and later climbs |
| Downhill start | Save effort for the return | The exit may require an uphill finish |
Loose ground adds balance work. Slow enough to place each foot rather than catching slides after they begin. The scree and loose-rock method explains surface choices in more detail.
On tall steps, alternate the lead leg when possible. Avoid bounding. If the trail has smaller stable edges, use them without cutting switchbacks.
Descent is not free. Faster downhill speed increases braking demand on tired legs. Use controlled steps and keep the body over the feet.
A route that descends from the trailhead can be deceptive. National Park Service guidance warns that the uphill return may take at least twice as long as the downhill outward leg on some routes.
Rain can slow loose rock, steps, crossings, and packing long after the shower ends. The wet-weather trekking plan protects dry recovery gear so a slower day does not create a weaker next morning.
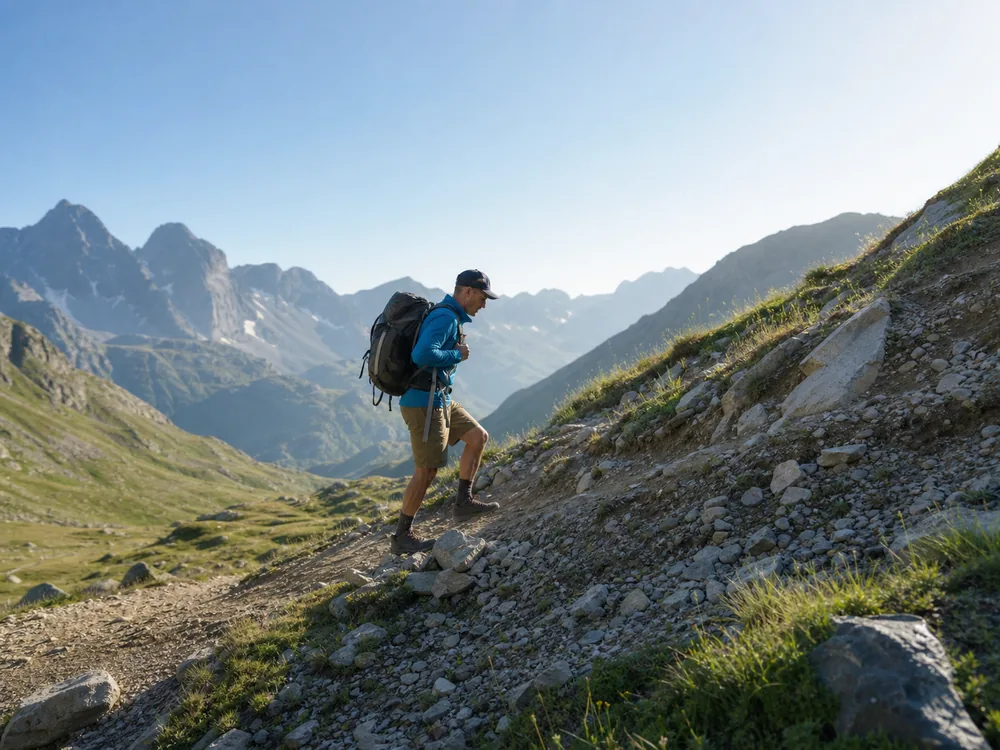
Same effort can mean a very different speed.
Let the slowest hiker set group pace
The National Park Service recommends that the slowest hiker set the pace. This keeps the group together and reduces repeated catch-up surges.
Place a calm, observant leader near the front and a designated sweep at the back. The leader should choose a pace the whole group can sustain, not simply copy the person directly behind.
- Pace setter
- The current slowest sustainable walker
- Sweep
- A named last person who does not pass anyone
- Regroup point
- A junction shelter or landmark agreed in advance
- Break fairness
- The last person receives the same useful pause
- No forced catch-up
- Faster hikers do not create repeated gaps
- Change trigger
- Symptoms fatigue weather or terrain can select a new pace setter
The slowest person can change during the day. A strong climber may descend cautiously. A fast morning walker may lose appetite or sleep poorly and slow after lunch.
Do not pressure someone to match a faster pace. Hong Kong's official Travel Health Service advises high-altitude travelers not to force themselves to keep up with the group.
The shared-space rules in trekking etiquette also support predictable passing and regrouping. At altitude, add symptom checks and the rule that no one ascends simply to avoid delaying others.
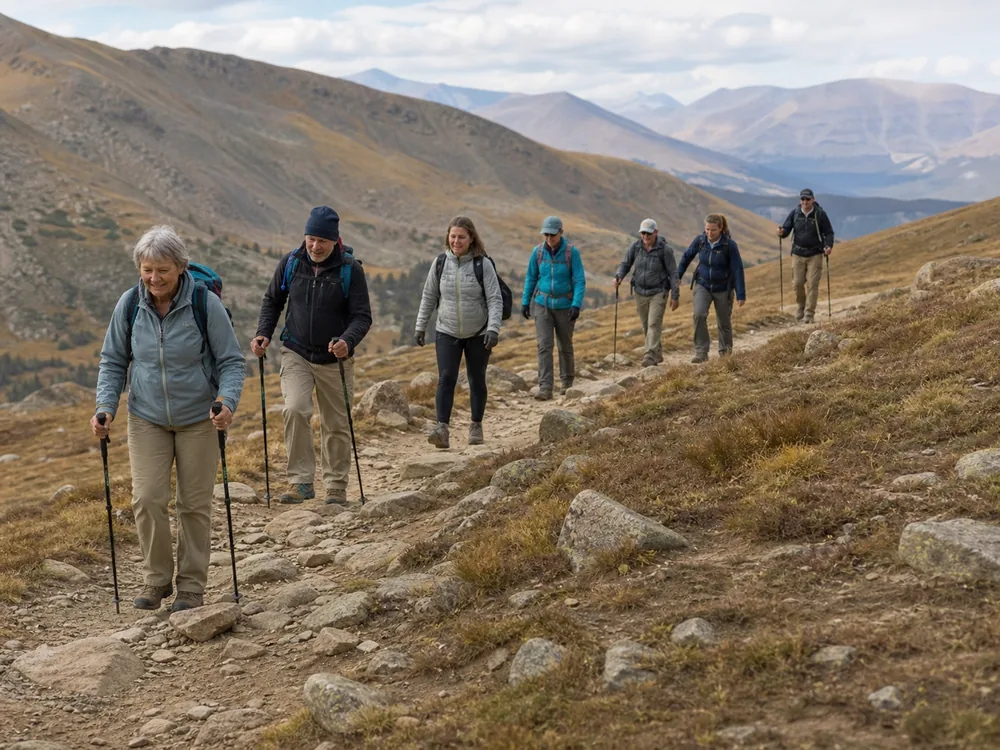
The safe group arrives together.
Fuel and drink without using them as a cure
Food and water support steady work. They do not prevent or cure altitude illness.
Take small amounts regularly enough that you do not reach a large energy drop. High elevation can reduce appetite, so use familiar foods that are easy to open and chew.
Drink to replace normal losses. Very dark urine, long gaps without urination, thirst, or dry mouth may suggest you need more fluid, but headache at altitude is not automatically dehydration.
The hiking water calculation gives a route-based starting point. A high trek must also verify refill reliability, freezing risk, treatment, and the time between sources.
If nausea, dizziness, unusual fatigue, or headache follows an ascent, stop and assess. Do not force food or water and then continue higher to test whether the symptoms disappear.
Fuel supports pace but does not clear symptoms.
Set a turnaround time from the return effort
Choose a turnaround time before the group starts. Base it on the slower direction, remaining climbs, daylight, weather, navigation, and the least recovered member.
- Identify the costly directionDecide whether the return climbs descends or crosses slower terrain.
- Estimate the group paceUse the slowest credible rate rather than the fastest member's record.
- Reserve a marginProtect time for weather route errors short breaks and an injury.
- Write the clock timeAgree on the limit before summit pressure appears.
- Recalculate after delaysSubtract long stops navigation errors and symptom assessments.
- Turn around on timeA good feeling does not create more daylight.
If the route goes downhill first, calculate the uphill return separately. The outward speed does not predict the exit.
Protect a weather margin. Wind, cloud, precipitation, and surface conditions can lower speed before they become an emergency.
The first trekking itinerary should match time and group ability. A high-altitude turnaround also accounts for reduced performance and slower recovery.
A summit is optional. A safe return is part of the route.
The turnaround belongs to the return trip.
Know when slowing down is not enough
Normal climbing causes faster breathing. It should improve when the effort falls or you stop briefly. New neurological symptoms, breathlessness at rest, or a cluster of altitude symptoms require a different decision.
Acute mountain sickness often starts 2 to 12 hours after arrival or ascent. A trekker may feel good at a pass and become ill after reaching camp.
Stop the ascent when symptoms appear. Rest at the same elevation and monitor. If symptoms worsen while the person remains at the same elevation, descend.
Confusion, severe drowsiness, inability to walk straight, or altered behavior can indicate high-altitude cerebral edema. Breathlessness at rest, cough, chest tightness, or a sharp fall in ability can indicate high-altitude pulmonary edema.
Do not send the person down alone. The broader trekking safety checks should include communication, exit routes, and enough group support for descent.
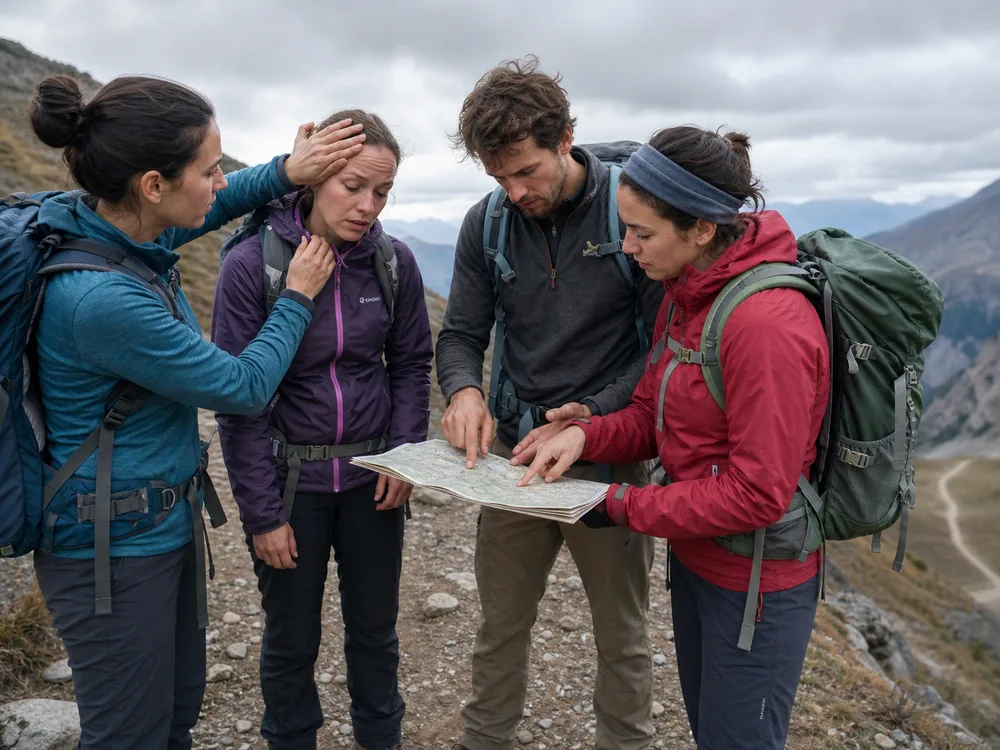
A slower pace cannot treat altitude illness.
Use a four-point pace reset
When breathing becomes ragged or the group rhythm breaks, shorten your stride first. This lowers effort without an abrupt stop.
Slow until you can speak a sentence. Take a brief drink, food, or layer pause if the need is ordinary. Then check for headache, nausea, dizziness, unusual fatigue, confusion, poor coordination, or breathlessness at rest.
- Shorten the strideLower the force of each step without stopping suddenly.
- Restore conversationSlow until a full sentence is possible.
- Meet the ordinary needDrink eat or adjust a layer during a brief controlled pause.
- Check symptomsSeparate recoverable overpacing from altitude illness.
- Choose the actionResume lower hold elevation turn around or descend.
If breathing settles, speech is normal, and no altitude symptoms are present, restart below the previous effort. Keep the shorter stride for several minutes.
If the same problem returns quickly, the planned pace is still too high. Reduce the day's goal or turn around while the group has a strong exit.
The multi-day preparation test should protect recovery for tomorrow. At high altitude, finishing today's distance at any cost can create a weaker and less safe next stage.
Reset, reassess, then choose.
Sources
The National Park Service recommends acclimatization, not overexerting, using the talk test, letting the slowest hiker set the pace, taking breaks, and setting a turnaround time: Hike Smart.
The CDC Yellow Book explains reduced performance, acclimatization, symptom timing, the no-ascent rule, and emergency descent: High-Altitude Travel and Altitude Illness.
Hong Kong's official Travel Health Service recommends gradual ascent, no forced group pace, and descent for altitude illness: High Altitude.
The Austrian Alpine Club advises slow steady pacing, small steps, hourly rehydration breaks, and staying with the group: Mountain Hiking Safety.
Your pace should protect the next hour and the return.
Step by stepPractical steps
- Start at an effort that allows a full spoken sentence.
- Shorten the stride before a sustained climb.
- Use brief planned breaks before fatigue forces a long stop.
- Let speed change with slope, surface, pack weight, and the slowest group member.
- Set a turnaround time from the slower return direction and remaining margin.
- Stop ascent and assess when altitude symptoms appear.
AnswersQuestions readers ask
How slow should I walk at high altitude?
Walk slowly enough to speak a full sentence without gasping. Let speed fall on steeper or looser ground while keeping effort controlled. A fixed miles-per-hour target is less useful than conversation and breathing recovery.
Why should I take small steps at altitude?
Small steps reduce the force and balance demand of each movement. They help you keep a steady rhythm on climbs without repeated surges and long recovery stops.
How often should I rest at high altitude?
Use short planned breaks before fatigue forces a long stop. The Austrian Alpine Club recommends short rehydration breaks about hourly, but weather, terrain, symptoms, and group needs can change the timing.
Who should set the pace in a trekking group?
The slowest sustainable walker should set the pace. Make sure that person receives the same useful break instead of arriving as everyone else restarts.
When is slowing down not enough?
Stop ascent when headache appears with nausea, dizziness, unusual fatigue, or other altitude symptoms. Confusion, loss of coordination, or breathlessness at rest requires immediate descent and urgent medical help.