
How to Pitch a Tent in Wind, One Anchor at a Time
Keep each exposed panel attached, held, or bundled until the shelter can carry the next gust.
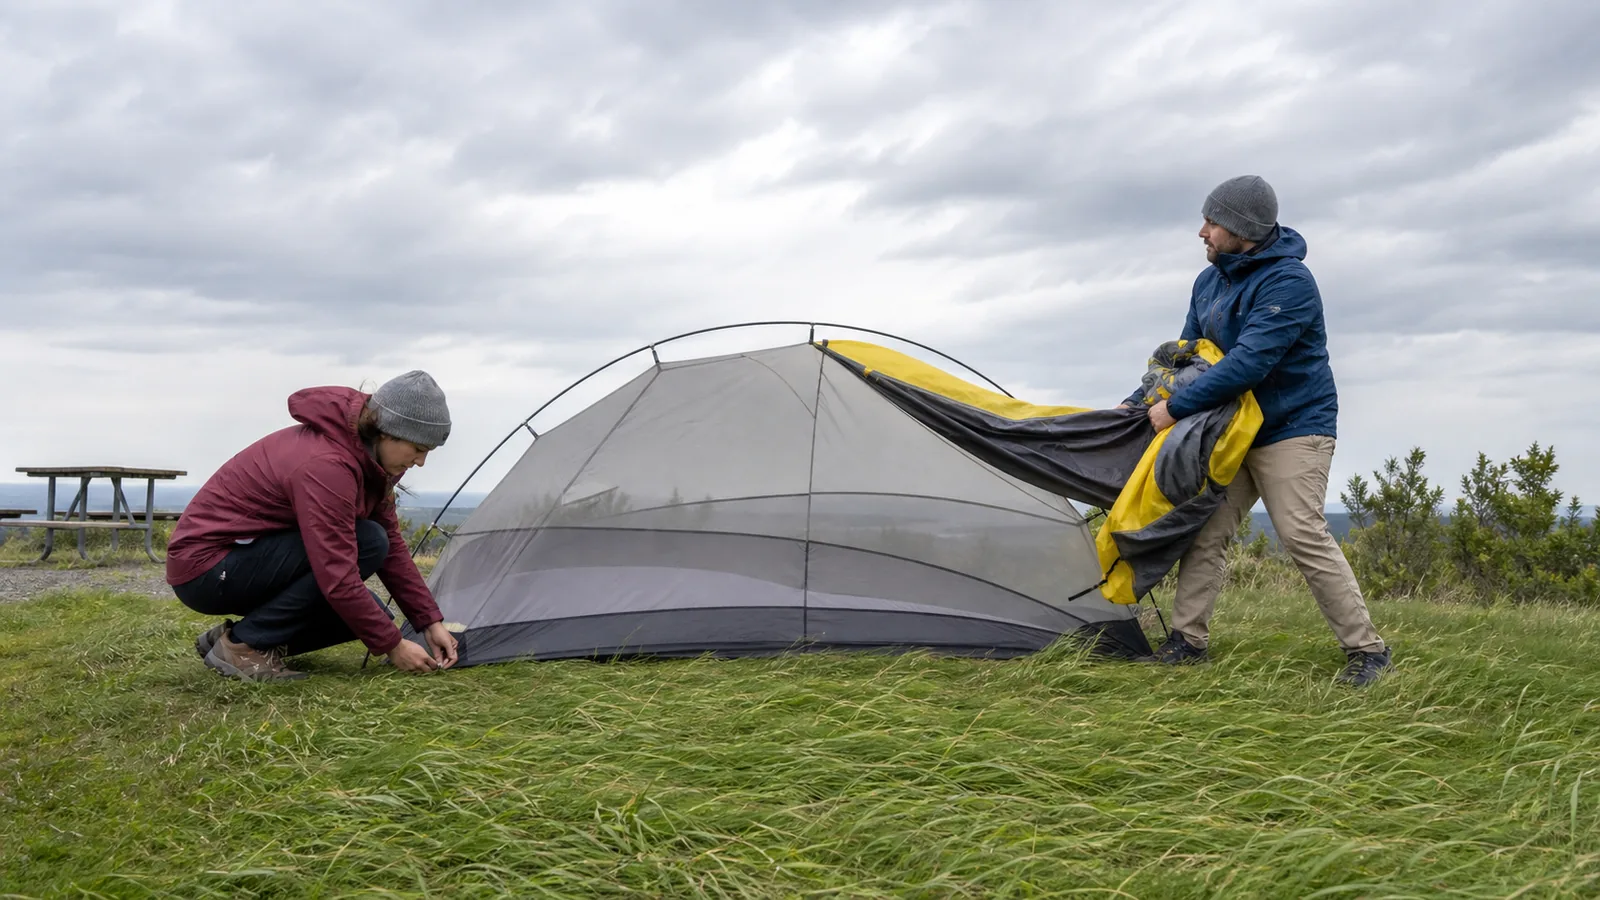
Wind puts the most pressure on a tent while the frame is still incomplete. A controlled pitch gives each new panel a secure connection before the next panel opens.
To pitch a tent in wind, give the shelter a secure attachment before you expose more fabric. Start with the tent closed, anchor the end that will face the wind, and keep the body, poles, and rainfly low until each part can be clipped or staked.
The manufacturer’s pitch order still controls the camping setup because an inner-first tent behaves differently from a fly-first or linked shelter.
The difficult moment is rarely the finished tent.
It is the half-built stage, when a broad panel can fill like a sail but the pole structure and guylines are not ready to carry the load. A good sequence lets the tent gain strong connections faster than it gains exposed surface area.
Use this quick order as the backbone, then adjust it to the instructions for your model. A calm practice pitch lets you memorize the corner colors, pole order, fly buckles, and structural guy points before wind adds pressure.
- Read the siteCheck the forecast, overhead branches, drainage, wind direction, footing, and route to safer shelter.
- Stage the closed partsPut the footprint, body, poles, fly, stakes, and guylines in the order you will need them.
- Fix the windward endSecure the manufacturer-approved corners or primary anchors before broad fabric opens.
- Build lowSeat pole sections carefully and raise only the part that the existing anchors can control.
- Catch the flyClip one windward fly corner before opening the rest across the frame.
- Complete the load pathStake the remaining corners and attach structural guylines to reinforced points.
- Watch five gustsCheck the stakes, line direction, pole shape, and fly tension before moving gear inside.
That sequence is useful only while you can keep your footing and hold the active part. If a weather warning, flying debris, dangerous tree movement, or repeated anchor failure changes the situation, contain what you can and move to safer shelter.
Which campsite gives the tent the best chance?
A sheltered pad helps, but shelter from wind does not excuse a dangerous location.
The National Park Service advises campers to avoid exposed high points, low areas that may collect water, and sites beneath dead or hanging branches. A rain-ready sleeping area also needs drainage because wind often arrives with weather that can pool under a low tent.
A stand of trees or a rise in the ground may slow the wind, yet the calmest patch can still be the wrong choice if damaged limbs hang above it.
Walk the legal camping area before opening the tent bag. A sound campground choice gives you a durable, level pad with a clear route back to the vehicle, campground building, or other shelter that is appropriate for the forecast.
Keep that exit free of guylines, chairs, bins, and loose equipment so the first-trip backup plan still works if conditions worsen.
Wind around trees, vehicles, and terrain often arrives in pulses.
Watch grass, leaves, dust, and loose clothing through several gusts instead of orienting the tent from one brief breeze. This observation shows the prevailing direction and also reveals turbulence that may load more than one side.
Which end should face the wind depends on the tent. Many dome tents present a lower or narrower end toward the prevailing flow, while some models rely on a particular pole crossing or reinforced wall.
Follow the model instructions when they specify a windward side. The strongest pole structure can matter more than the smallest panel, and a door placed directly into the wind can let the shelter pressurize when opened.
- The pad is legal, durable, level, and not in a drainage channel.
- No dead, broken, or hanging branches threaten the tent or exit.
- The repeated wind direction is clear enough to orient the model correctly.
- The ground can accept the manufacturer-approved anchors for this tent.
- People can reach safer shelter without crossing the pitch or standing near trees.
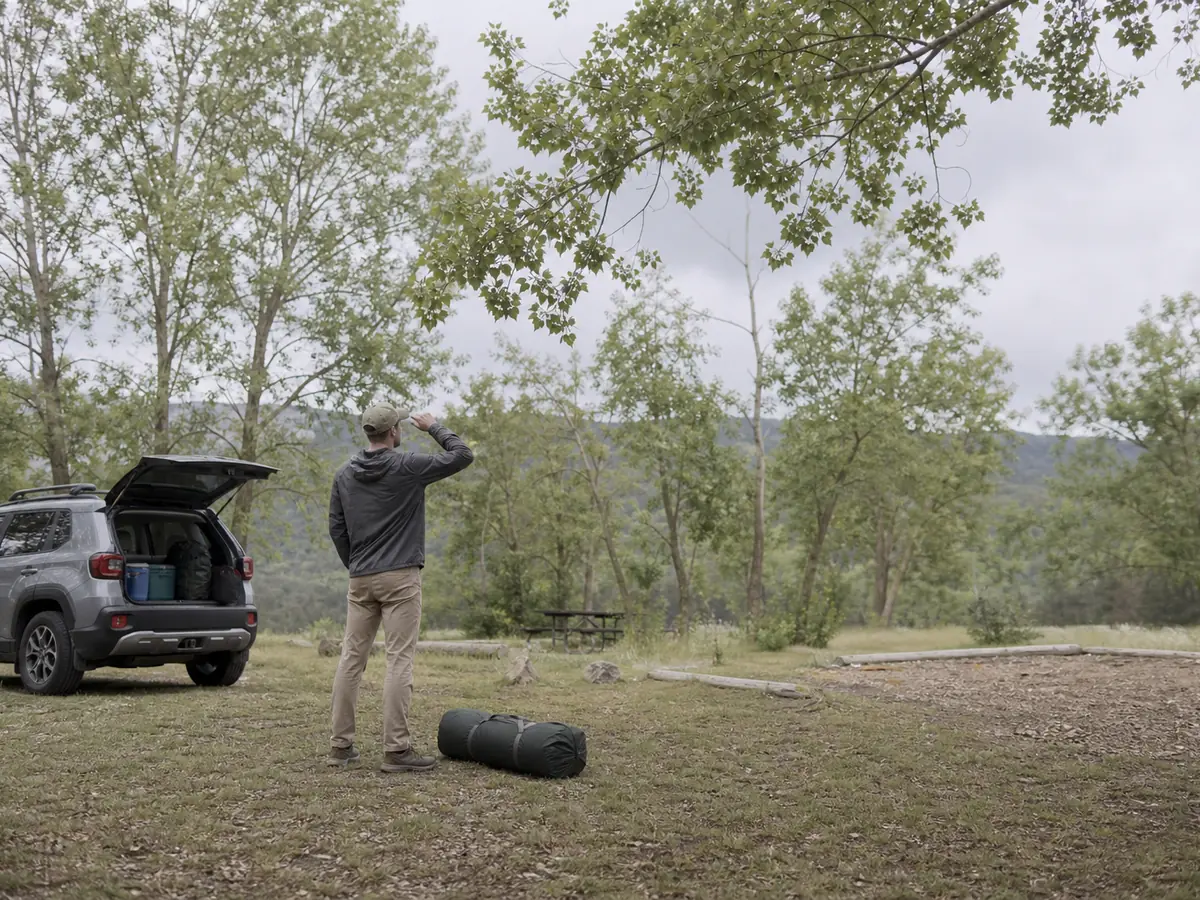
If the site fails any of those checks, moving early is easier than moving a half-built shelter. The site gets the first veto because no staking technique can make falling branches or an exposed ridge safe.
Keep the tent low until the windward end is fixed
Set the closed tent bag on the downwind side of your body and place the stakes within reach. Keep the rest of your camping packing system closed so the working area holds only the parts needed for the pitch.
Leave the fly and body bundled while you identify the correct corners. An open stuff sack, a loose footprint, or a pile of pole sections can spread across a campsite before you finish the first connection.
Begin with the footprint only if the model uses one and you can stake it immediately. Then place the body over it without spreading every panel flat.
Secure the manufacturer-approved windward corners or primary anchors, and unroll the rest toward the downwind end. This keeps the attached edge loaded while the loose edge remains close to your hands, avoiding the camp setup mistake of exposing more fabric than the current anchors can support.
Assemble poles close to the ground.
Seat each joint by hand before moving to the next because a partly connected pole can split when it bends. Carry a completed pole with both hands, parallel to the ground, and keep its ends away from faces and fabric.
Freestanding describes how a tent stands, not whether wind can move it, so a dome that holds its shape still needs stakes and guylines.
| Tent part | What stays controlled | When it may open |
|---|---|---|
| Footprint or body | Windward corners stay staked or held | After the first approved anchor points are secure |
| Pole set | Unused sections stay in the sleeve or closed vehicle | One pole at a time as the model sequence requires |
| Rainfly | One windward buckle or corner stays in hand | After that point is clipped to the body or footprint |
| Stakes and small parts | Stay in a closed pouch or solid tray | Only when the next anchor point is ready |
| Doors and vents | Stay zipped or set as instructed | After the frame and fly can carry the resulting pressure |
The rainfly deserves its own pause.
Clip one windward corner before spreading it over the frame, then move around the tent while the attached point keeps the panel from leaving your hands. Big Agnes gives this same wind-specific advice because an unattached fly can turn into a kite in one gust.
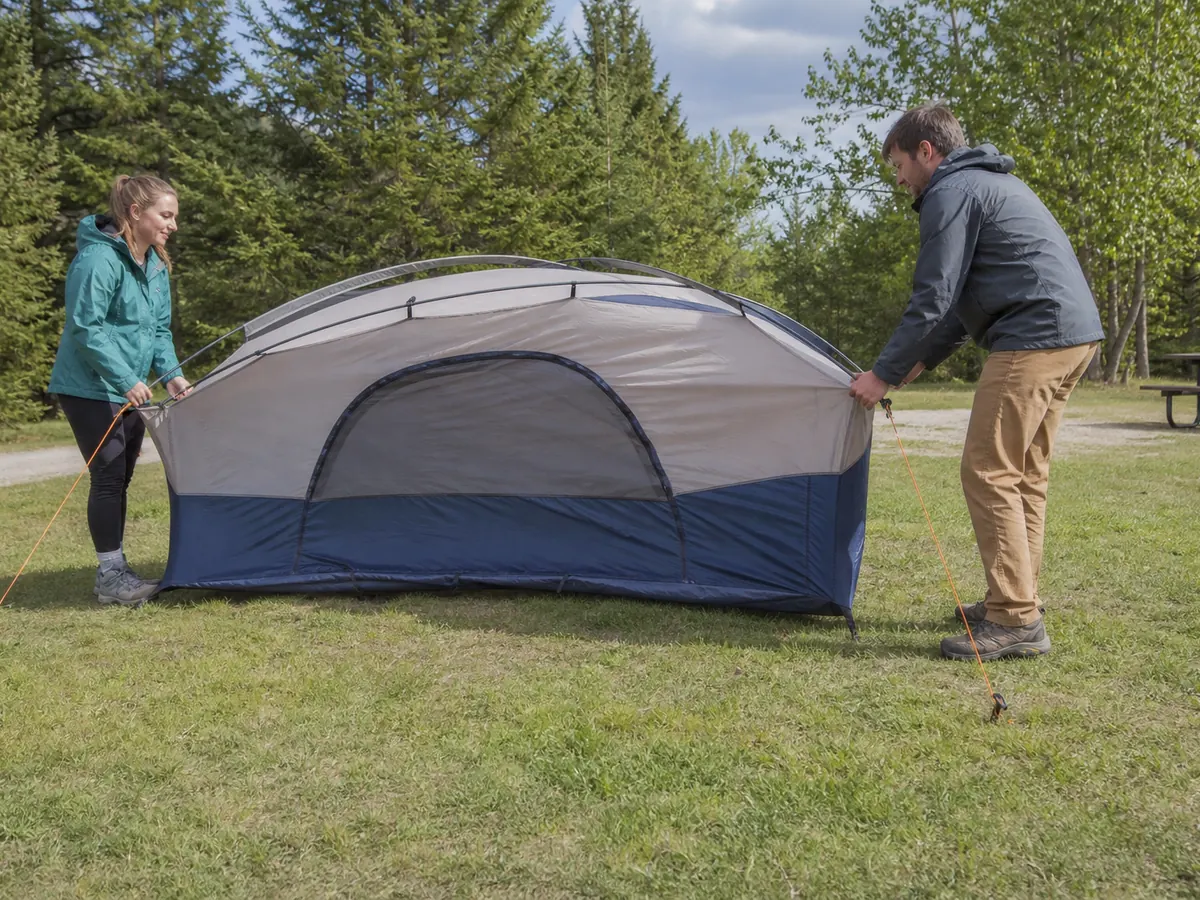
Inner-first tents, fly-first tents, and shelters with a linked inner and outer tent do not share one assembly order. Keep the manufacturer's sequence, but apply the same wind rule at every transition.
A released part must move into a hand, a reinforced clip, a stake point, or a closed bundle. Secure, then expose is the useful habit, not a substitute for the instruction sheet.
What changes when you pitch alone?
One person can pitch in manageable wind only while every exposed part remains within reach. A solo camping plan should put the stakes, clips, pole ends, and safer exit within one person's reach before the bag opens.
Kneel beside the bundled tent when the ground is stable and keep the anchored edge upwind of your working position.
Both hands may leave a panel only after that panel is attached.
Your knee can stop a bundled section from unfolding while you make a nearby connection, but do not sit on poles, clips, or coated fabric. Body weight can crush hardware and still fail to control a fly once air gets underneath it.
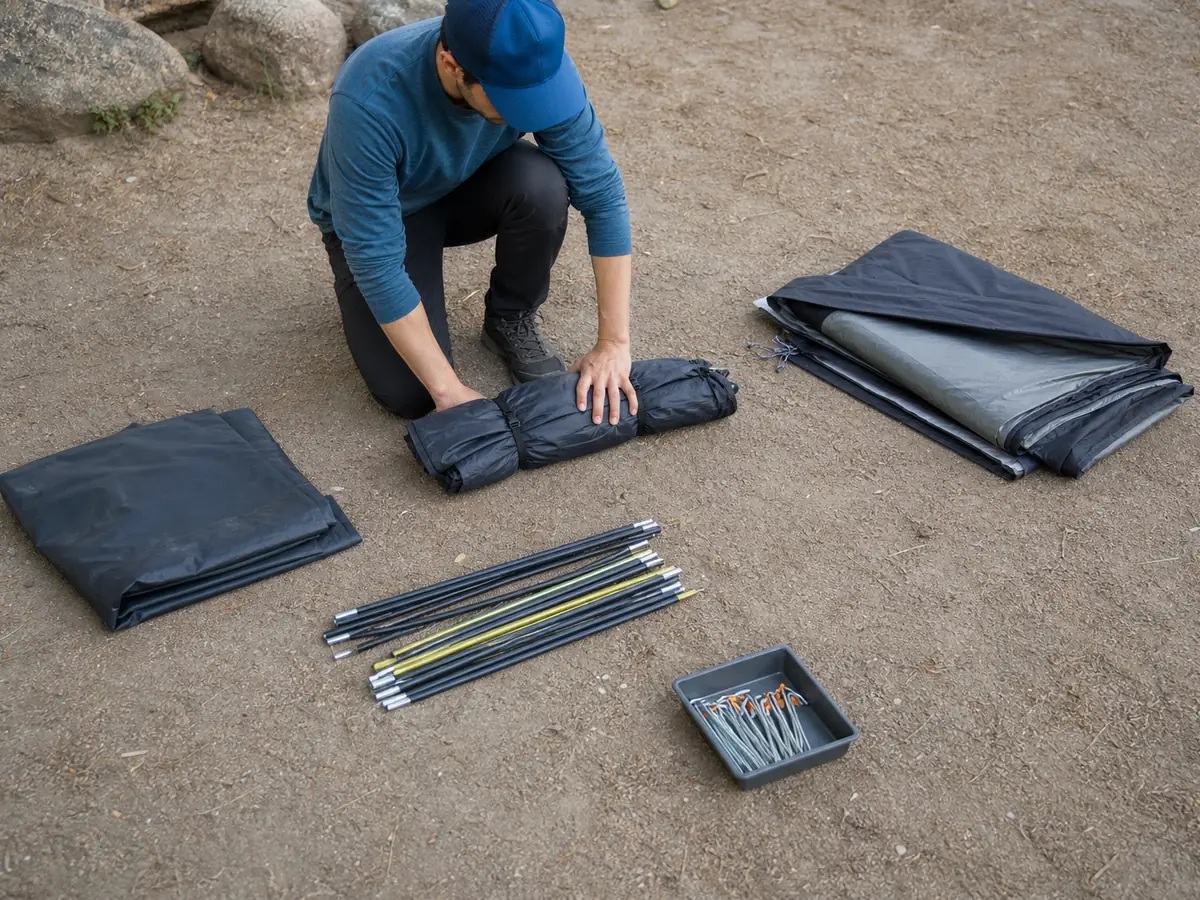
If the next step needs two hands and the rest of the tent cannot remain anchored, restore the last secure connection. Wait for a lull, ask for a capable helper, or choose another plan.
A helper changes the sequence only by taking one clear role. One person holds the loaded side while the other makes the next attachment, and they exchange control with a spoken handoff.
Solo setup ends at loss of control. Wind strength, footing, tent size, and familiarity all change that point, so confidence alone is not evidence that the next panel is manageable.
How do stakes and guylines share the load?
Once the frame is standing, the tent still needs a route for wind force to reach the ground.
The fly transfers pressure into reinforced guy points and pole crossings. Guylines carry that pull to anchors, while perimeter stakes hold the floor plan and keep the frame from shifting.
A weak point anywhere in that chain changes the shape of the whole shelter.
Use the structural guy points named by the manufacturer, especially on the windward side. A low loop at the fly hem may pull the fabric away from the inner tent for ventilation, but it may not support the pole structure.
A reinforced point positioned over a pole is usually there to share a structural load. The instruction sheet decides which is which.
Run each line outward in the direction its panel needs support.
Separate anchors make the load easier to read and adjust, but the legal surface decides what will hold.
Ordinary stakes may work in firm soil. Sand, gravel, hardpan, and wooden platforms need anchors or systems approved for that surface, while winter camping anchors must hold in snow or frozen ground.
Tighten until the fly becomes smooth and the pole structure keeps its designed shape. A line left slack can snap tight during every gust, which creates repeated shock.
A line pulled too hard can bend a pole, drag seams away from their intended alignment, or close the gap between the fly and inner tent. More tension is not automatically more strength.
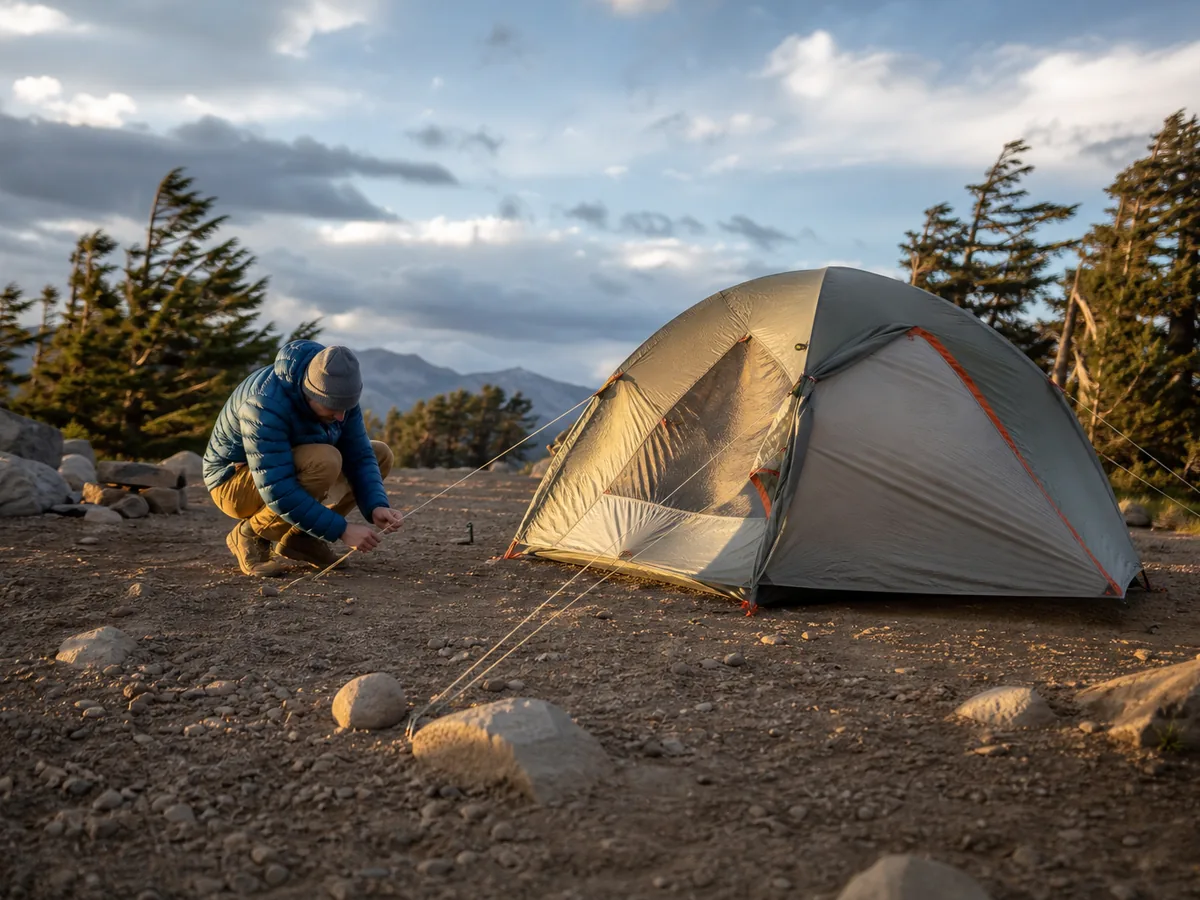
Make lines visible and keep them out of the main walking path. Reflective cord helps at night, but it does not remove the trip hazard.
Protecting a shared campground path may require a different legal pad rather than stretching a line through another site's space. Direction before tension is the simplest check when one line seems to need constant tightening.
Read the tent during the first five gusts
Do not finish the last knot and immediately move bedding inside. Stand where no line, pole, branch, or loose object can strike you, then watch the tent through several gusts.
The goal is not a perfectly still shelter.
Fabric will move. You are looking for movement that grows, shifts the frame, or shows that one attachment is losing its share of the load.
Trace the motion backward. If a fly panel flaps but the poles remain aligned, find the reinforced point meant to support that panel before touching other lines.
If a line goes slack, watch its stake and tensioner. The cause may be a rotating anchor, a slipping adjuster, or a line pulling sideways rather than a simple lack of tension.
| What you see | Likely cause | Next action |
|---|---|---|
| One fly panel flaps while the frame stays aligned | Its designed support line is loose or misdirected | Check that one guy point and line direction |
| The stake head rises or cuts a widening slot | The ground or anchor is losing hold | Unload the point and use an approved anchor for the surface |
| A pole bends into a new curve | Load direction or tension is distorting the frame | Ease the change and inspect the related lines and clips |
| The fly presses onto the inner tent | Fly tension or corner alignment has changed | Align the fly and restore the designed air gap |
| Several points move together | Wind direction, ground support, or the site has changed | Reassess the whole pitch and the decision to stay |
Change one point, then watch the next gust. Adjusting every line together removes the evidence that showed where the movement began and can pull the frame off center.
This slower approach is quicker than chasing a new problem around the tent.
Check again after rain or a large temperature change. Some fly fabrics stretch when wet, and wet ground may release a stake that held during setup.
A change in wind direction can also load a door or broad wall that was sheltered before. Movement should have an explanation before the group commits to the night.
When is the wind too strong to keep pitching?
There is no universal wind speed that makes every tent unsafe. Tent structure, pole condition, anchor surface, gust pattern, tree exposure, and the camper's footing all change the answer.
Forecast numbers help you plan, but the stop decision must also use the conditions you can see.
An official High Wind Warning is a take-action message, not a challenge to finish camp. The National Weather Service tells people to seek shelter during a warning.
Watches and forecasts should change the trip earlier, while the tent is still packed and the group can adjust the site or plan.
Visible conditions can stop the pitch before an alert does. Leave when branches or debris begin to fall, loose objects become airborne, lightning or another hazard affects the site, or the route to shelter is getting worse.
A camping safety plan should already name the shelter and exit that replace the tent. Stop the setup when stable footing disappears, one person cannot hold the active panel, anchors pull repeatedly, fabric tears, or a pole develops a new bend.
If the tent is partly built, contain the loose fabric and poles only while you can do so from a safer position. Do not stand under moving branches or beside a failing frame to protect equipment.
Essential medication, communication, lights, vehicle keys, and a warm sleep system matter more than a neat pack.
The stop signal is failed control, whether it begins in the weather, the site, your footing, or the shelter. Moving earlier preserves more choices than waiting until the tent has already failed.
Taking the tent down without losing the fly
Takedown can be harder than setup because every released line removes support from a large standing surface. Wind direction may also change overnight, so the anchor that went in first is not automatically the one that should come out last.
Pack sleeping gear, chairs, cookware, sacks, and other loose items before touching structural lines. Close doors and broad vents as the model allows, then watch the current wind long enough to identify which wall carries the load.
Keep one person on that side if two people are working.
- Clear the work areaPut loose camp gear into closed bags, bins, or the vehicle before releasing the tent.
- Read the wind againIdentify the side carrying load now rather than relying on yesterday's setup.
- Close broad openingsZip doors and set vents as instructed before the frame loses tension.
- Transfer one connectionPut the released load into a hand or secure bundle before moving to the next point.
- Lower the polesKeep joined sections near the ground, then separate and contain them as the model permits.
- Bundle the fly and bodyGather fabric as it comes free instead of spreading it for a neat fold.
- Pull the final anchorRemove it only when no broad panel can open into the wind.
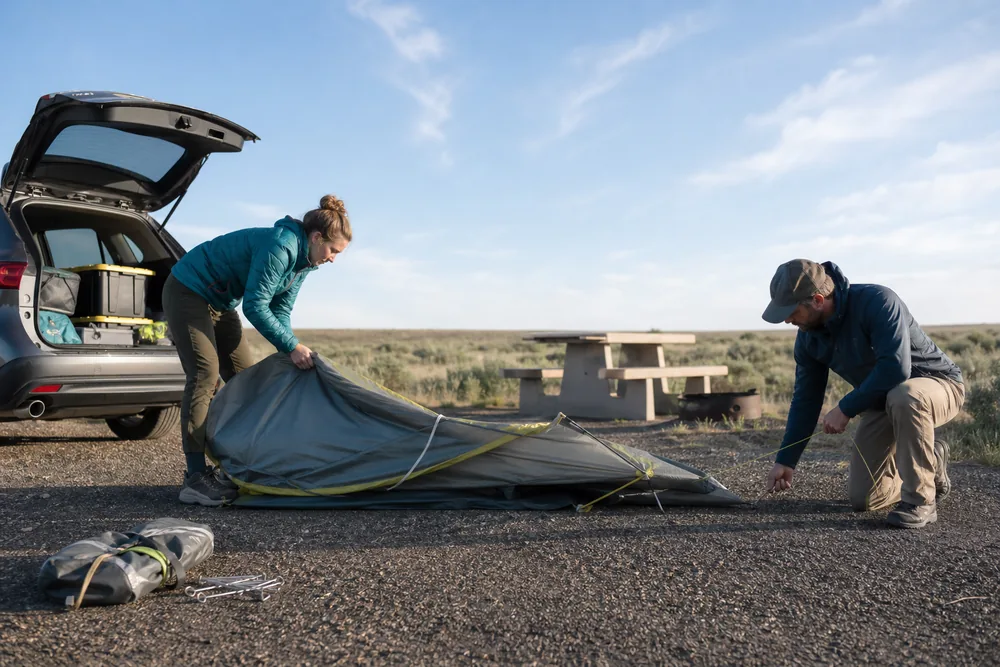
If the next panel is too large to hold, restore the last connection when that can be done safely. Wait for a lull or leave the tent standing until a controlled takedown is possible.
Neat folding can wait for calmer ground at home. The last anchor protects the last loose panel, so pull it only when the shelter is already contained.
Sources
The National Park Service explains site selection, wind exposure, overhead branches, drainage, legal camping surfaces, and the need to follow the tent manufacturer's instructions: Finding and Setting Up a Campsite.
Big Agnes describes staking the footprint and body early, attaching one fly corner before opening the fly, orienting a suitable end into prevailing wind, and using structural guylines: Tips: Tents.
REI Co-op covers practice pitches, windy corner staking, model-specific orientation, fly alignment, and attachment of guylines to reinforced points: How to Set Up a Tent.
The National Weather Service distinguishes High Wind Watches from take-action High Wind Warnings and advises people to seek shelter during warnings: Wind Warnings, Watches and Advisories.
Step by stepPractical steps
- Check the forecast, overhead hazards, drainage, footing, and route to safer shelter.
- Stage the closed tent parts in the manufacturer?s pitch order.
- Secure the approved windward corners or primary anchors first.
- Build low and expose only the part that existing anchors can control.
- Clip one windward fly point before opening the rest of the fly.
- Attach structural guylines to reinforced points and tension them without deforming the frame.
- Watch five gusts and stop if anchors, footing, poles, or fabric no longer stay controlled.
AnswersQuestions readers ask
Which way should a tent face in wind?
Follow the instructions for your model. Many tents put a lower or narrower end toward the prevailing wind, but the strongest pole structure or a specified windward side may matter more.
Should I stake a tent before adding the poles?
In wind, secure the manufacturer-approved windward corners or primary anchors before you expose broad fabric. The exact order changes for inner-first, fly-first, and linked shelters.
Can one person pitch a tent in wind?
Only while that person can keep every exposed part controlled and maintain stable footing. Wait, move, or get a helper when the next panel cannot be held and attached safely.
How tight should tent guylines be in wind?
Tighten each structural line until the fly is smooth and the poles keep their designed shape. Do not pull every line drum-tight because excess tension can distort the frame.
When is it too windy to keep pitching?
There is no universal speed for every tent and site. Stop during an official warning or when debris, dangerous tree movement, repeated anchor failure, pole deformation, unstable footing, or loss of control makes the setup unsafe.