
Hiking for Beginners: Start With a Manageable First Trail
Pick an easy first trail, carry the right basics, and finish with enough energy to want another hike.
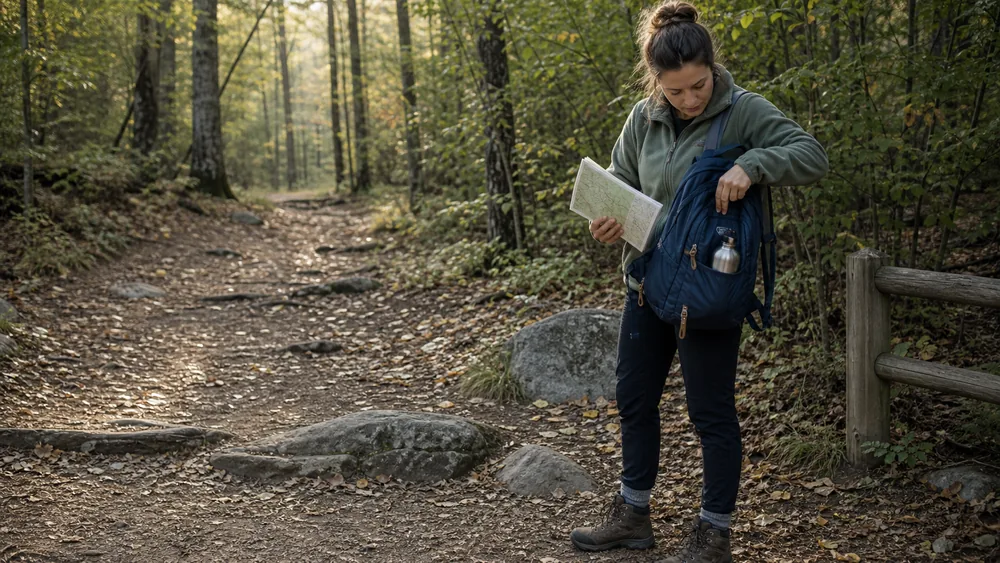
Start with a marked day hike that is easy to shorten. Read the full route, test your shoes and pack near home, check current conditions, leave a trip plan, and use the first outing to learn your pace, feet, navigation, and turnaround judgment.
What should a first hike prove?
A first hike should prove that you can follow a marked route, manage your pace, notice foot problems, and return with energy left. Choose a day hike with a clear trailhead, a simple way back, current information, and several chances to shorten the outing.
There is no universal beginner mileage. Two flat miles on packed ground and two steep miles on loose rock ask different questions.
Start below the longest walk you already handle comfortably, then keep extra time and energy for the return.
Success means you finish before the agreed time, your feet remain usable, the group stays together, and nobody needs the last snack or drop of water to reach the car. The view is optional.
Finish with reserve so the outing teaches you something useful.
- Route
- Marked tread, simple return, current official information, and no technical terrain
- Work
- Total distance, cumulative climb, surface, weather, and pack weight fit the least experienced person
- Time
- Start, turnaround, expected finish, and overdue time are written before departure
- Body
- Shoes, socks, pack, and easy walking pace have already been tested
- Field checks
- Trailhead, first 20 minutes, and turnaround point each confirm or shrink the plan
- Exit
- Early return is available before water, daylight, weather, or foot comfort becomes tight
A first day hike is different from an overnight trip because shelter, sleep, and multi-day food are not part of the work. Keep the first route local enough that one wrong choice does not require a second day to solve.
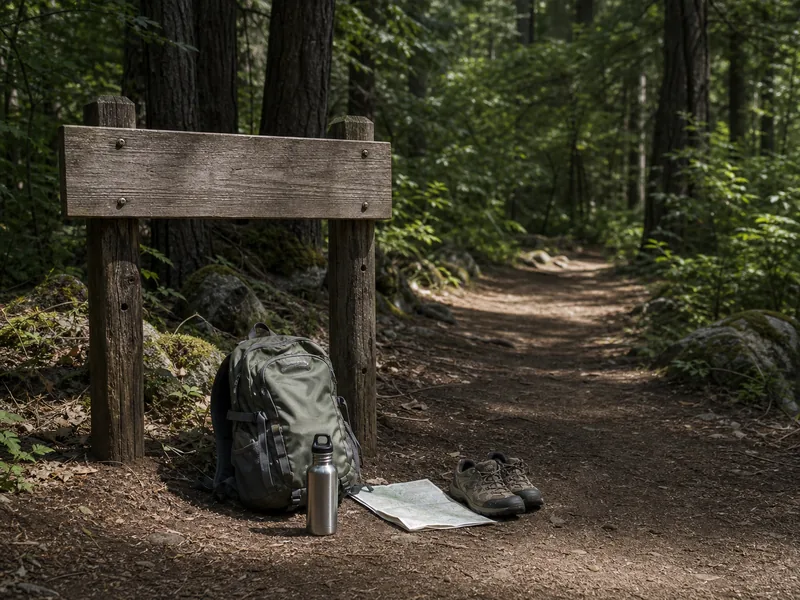
The common hiking mistakes often begin when short mileage is treated as the whole route. Read the details before deciding that a listing is easy.
How do you decode a trail listing?
Read every listing as a set of claims that need context.
Distance may be round trip or one way. Elevation gain usually adds all climbing rather than showing the highest point.
Estimated time may assume dry ground, an experienced pace, or no long breaks.
Route shape changes the return.
An out-and-back lets you reverse at any point. A loop may place the steepest or roughest part after halfway.
A point-to-point route needs transport at both ends, so missing a shuttle can turn a finished hike into another travel problem.
Difficulty labels are local.
An easy trail in one system may be moderate in another. Check the listed reasons for the rating, then compare the route with your own walking, heat, balance, and joint comfort.
Decode the whole route before trusting the label.
| Listing field | Question to answer | Beginner warning |
|---|---|---|
| Distance | Is this total, one way, or only one segment? | The return is missing from the number |
| Route type | Out-and-back, loop, or point-to-point? | The hard side cannot be skipped |
| Elevation gain | How much climbing is cumulative, and where is it concentrated? | Most gain occurs in one short section |
| Surface | Packed tread, roots, loose rock, mud, steps, or snow? | Footing is unfamiliar or conditions are current |
| Estimated time | What pace and breaks does the estimate assume? | The finish depends on matching a stranger's pace |
| Access | Are the road, gate, parking area, permit, and trail open now? | The listing uses old or unofficial information |
| Exit | Where can the group shorten or reverse? | One commitment controls the whole return |
Work a simple example.
A listing says four miles and 700 feet of gain. If that means a two-mile climb followed by the same descent, you can turn around early.
If it means a four-mile loop with the climb in mile three, the group must reach the harder section before completing the route.
The same numbers also feel different on smooth dirt and loose rock. Add current heat, rain, snow, altitude, stream crossings, and daylight before accepting the app's difficulty label.
An exposed first route needs the stricter hot-weather hiking plan when sun and heat raise the effort. Steady rain moves the decision to wet-trail footing rather than the app's dry-condition rating.
Two candidates that still look close come down to the trail choice process rather than the better photo. For a first outing, reject confusing access, uncertain water crossings, exposed scrambling, snow, a long committed loop, or a finish that depends on perfect pace.
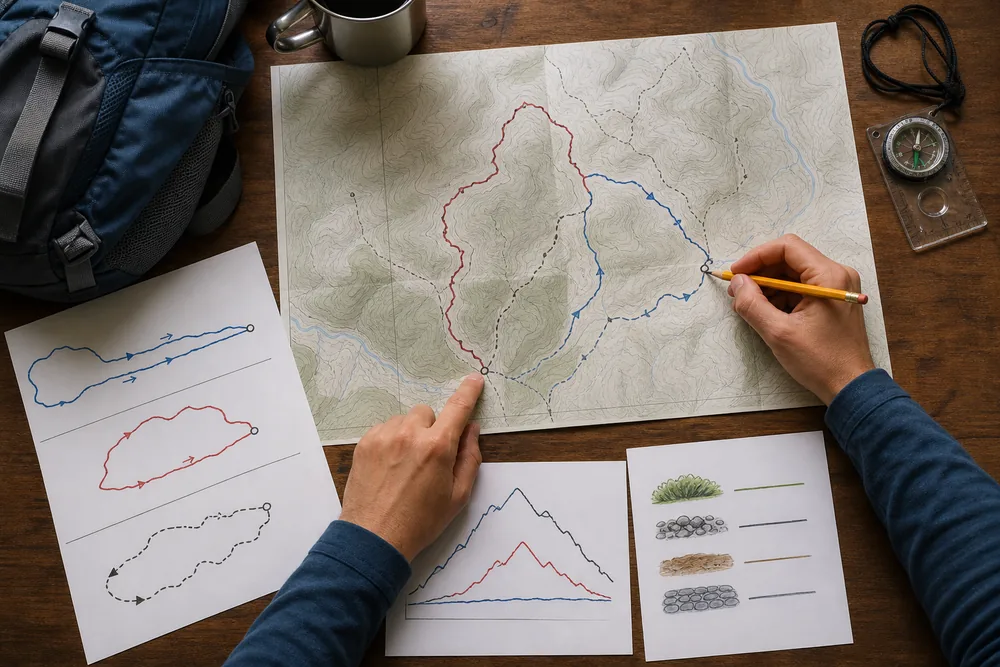
REI's beginner route guidance covers the same core listing fields, including distance, gain, weather, time, and logistics. Treat its pace examples as starting estimates, then replace them with your own field evidence.
Prove the basics before trail day
Take the intended shoes, socks, pack, water, and clothing on a 60 to 90 minute practice walk near home. Include a small hill, stairs, or uneven park path if the first trail climbs.
The practice walk is not a fitness exam. It shows whether a heel slips, a toe hits the front of the shoe, a sock seam rubs, the pack swings, a shoulder strap bites, or your easy pace is slower than expected.
Walk slowly enough to speak in full sentences. The National Park Service uses comfortable conversation as a useful pace check.
If talking becomes broken on a modest slope, slow down before adding trail distance.
Test the exact setup you plan to carry.
- Load the real packCarry the planned water, food, layers, light, map, and small first-aid kit.
- Walk 20 easy minutesCheck breathing, heat, shoulder pressure, and whether the pack moves.
- Add a modest slopeNotice calves, knees, balance, and how quickly conversation changes.
- Stop for five minutesAdd or remove a layer and see whether sweat makes the stop cold.
- Check both feetFix hot skin, heel lift, toe pressure, or sock bunching before it becomes damage.
- Finish without pushingRecord time, water used, and how the return felt.
- Check the next morningRepeat or shrink the trail plan if pain changes normal walking.
Change one problem at a time. Relace the shoe, move pack weight, swap a sock, or reduce the planned climb.
Buying new gear is not the automatic answer when a simple fit adjustment works.
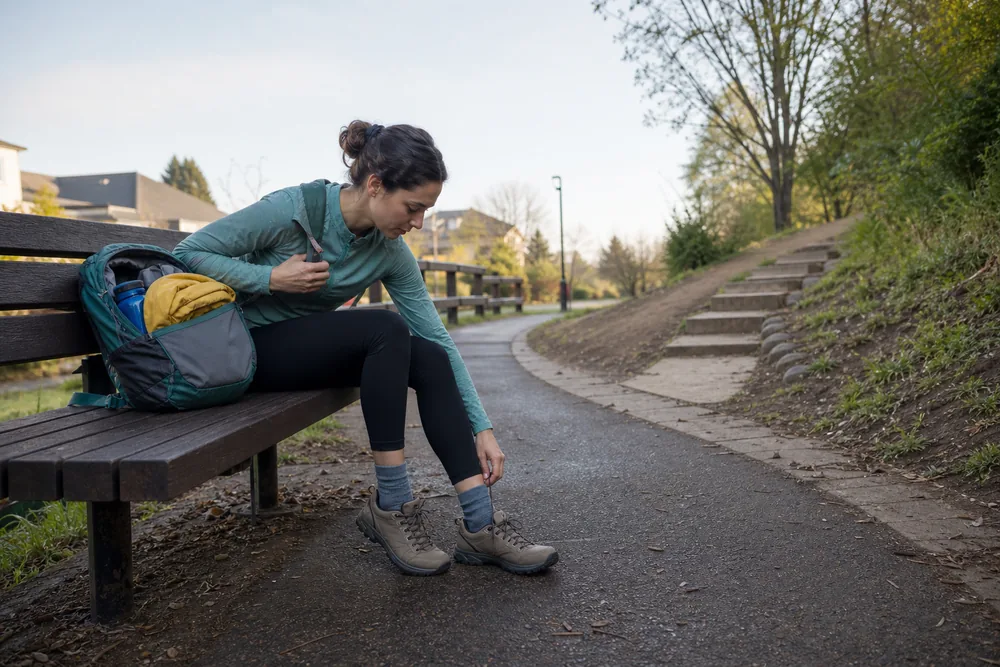
A practice route that already feels hard calls for hiking fitness training before the trail gets any longer. The first outing should confirm preparation rather than become the first hard workout.
Build the day around current facts and a backup
Check the official land manager for closures, permits, fees, road access, parking, fire restrictions, and current hazards. A map app can help discover a trail, but it does not replace the authority that manages the ground.
Read the hourly weather for the route elevation, not only the nearest town.
Note when heat, rain, wind, storms, or darkness can reach the exposed part of the hike. Choose a backup route or a non-hiking activity before leaving home.
Plan backward from a finish time that preserves usable light. Estimate the return separately, add breaks and a delay allowance, then set a turnaround time that the group will follow even if the destination is close.
The backup is part of the first plan.
- Confirm the exact trailhead, access road, gate, parking, and legal start time.
- Check current alerts, closure notices, permits, fees, and local rules.
- Save an offline map and carry a paper or independent route backup.
- Record forecast timing, daylight, exposed segments, and the planned finish.
- Write the route, group, vehicle, equipment, communication, and turnaround.
- Give the expected return and overdue action to a trusted contact who is not hiking.
- Name a shorter route or another activity for changed conditions.
- Notify the trusted contact if the route changes and again when the group returns.
The NPS Trip Planning Guide recommends a backup, current alerts, working equipment, and a trip plan. Its trip-plan fields include route, vehicle, group, equipment, communication, expected return, and the action a trusted contact should take when you are overdue.
A calm partner can lower pressure and notice a wrong turn or changing pace.
Pick someone who respects the turnaround and keeps the slowest comfortable person with the group. A fast partner who treats every stop as failure makes the first hike harder.
If you go alone, use a popular marked local route, make the outing smaller, and keep the solo hiking checks conservative. Do not make the first solo trip remote because a phone shows a line on the screen.
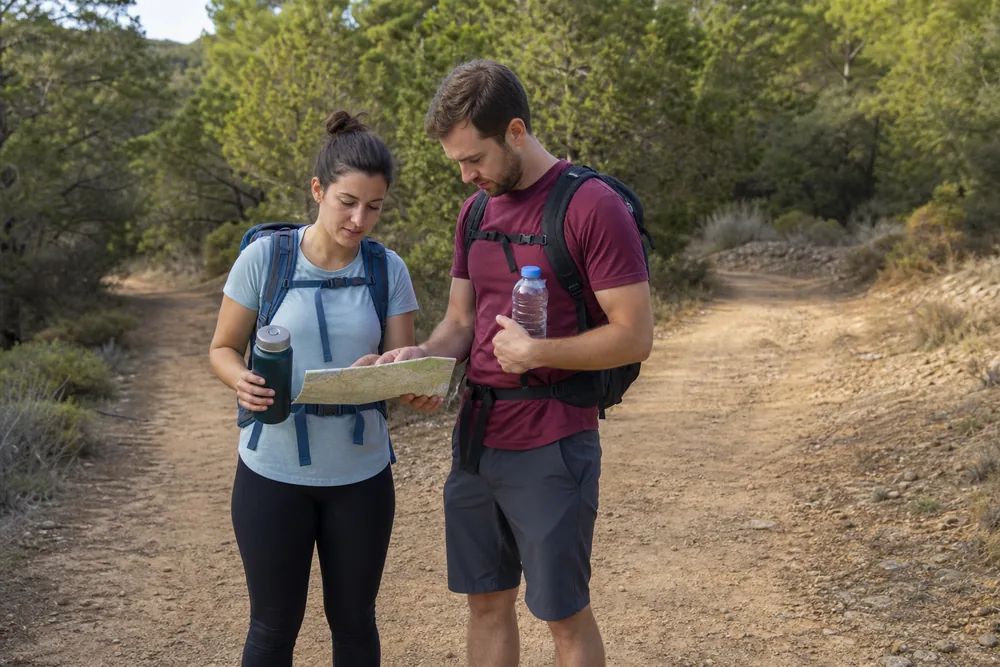
Once the route is fixed, one final pre-trip check settles water, light, weather, and the overdue plan. That final check should confirm the actual day rather than reopen every planning choice.
Match footwear, clothing, and essentials to this route
Footwear must fit your feet and the surface. Comfortable running shoes can work on smooth, dry, maintained tread when the sole grips and the shoe does not slide or twist.
Rough rock, mud, roots, snow, or a heavier load may justify a firmer shoe.
Wear the same socks used on the practice walk.
Smooth synthetic or wool socks often manage moisture better than a damp cotton sock, but fit matters most. Leave enough toe room for descents and stop when skin first feels hot.
Dress for the slowest and most exposed hour. Use quick-drying layers you can add or remove, plus sun and rain protection that matches the forecast.
The parking lot temperature does not describe a windy overlook or a long shaded stop.
Each item needs a job tied to this route.
Navigation
Offline map, paper map, compass when useful, and the skill to identify the route.
Sun
Hat, sunglasses, sunscreen, and clothing for exposed ground.
Insulation
A layer that protects the coldest likely stop.
Light
A headlamp with usable power, even when the plan finishes in daylight.
First aid
Small injury care, personal medication, and blister treatment you can reach.
Fire
An appropriate emergency fire method only where legal and useful.
Repair
A small tool and tape for likely gear failures.
Food
Planned snacks plus a reserve for delay.
Water
Carry and treatment matched to hours, heat, climb, and verified sources.
Shelter
A lightweight emergency barrier for an unplanned delay.
The NPS Ten Essentials treats these as systems rather than one fixed shopping list. Adjust each system to the location, season, duration, and group.
The hiking packing list helps choose the actual items. Build the amount of water from a water carry plan instead of copying one bottle count from a different climate.
Pack placement changes behavior. Keep water, snack, shell, map, phone, sunglasses, and blister tape reachable.
If the pack swings or shoulder pressure builds, correct backpack fit before adding weight.
Avoid packing for every imagined disaster. A smaller route with a usable backup is stronger than a heavy bag full of items you have never practiced.
What should happen at the trailhead and in the first 20 minutes?
Confirm that you are at the correct trailhead, not a nearby access with a similar name. Match the route name, trail number, first junction, direction, and map position before the group walks away from the sign.
Look at the ground and sky.
Mud, snow, smoke, heat, wind, a closed gate, a crowded lot, or missing water can invalidate the home plan. Use the backup while the car, extra water, and another route remain easy to reach.
Orient the map to the first leg. Save battery by using airplane mode when appropriate, but remember that an offline phone can still fail.
Keep the independent route backup where you can reach it.
The first 20 minutes are a real test of the plan.
| Checkpoint | What to compare | Change that earns action |
|---|---|---|
| Before walking | Correct trail, sign, map, weather, water, gear, group | Wrong access, closure, missing essential, or poor conditions |
| After 10 minutes | Conversation, heat, pack movement, shoe fit, route direction | Hard breathing, rubbing, swinging pack, or uncertain tread |
| After 20 minutes | Elapsed time, water use, feet, group spacing, first landmark | Pace or water is already outside the plan |
| First junction | Map, sign, compass, and last known point | The turn cannot be confirmed by two useful clues |
| First exposed section | Weather, surface, temperature, and return option | Conditions are worse than the route plan allowed |
Start below your normal sidewalk speed. Put the slowest comfortable hiker near the front, keep the group together, and fix a hot spot or loose strap immediately.
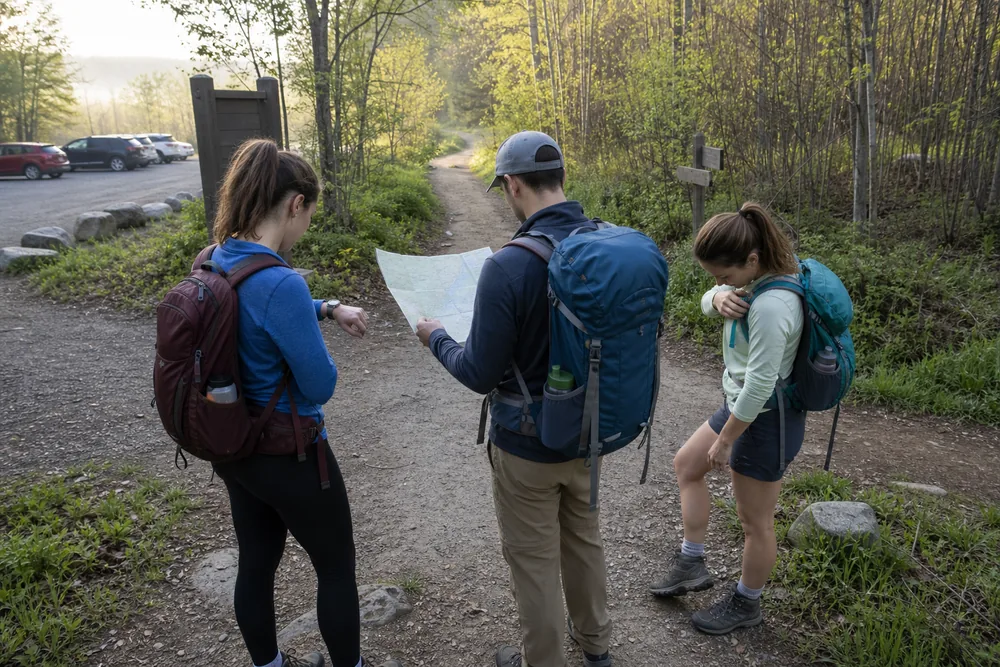
Practice using a compass on a signed easy route while the phone still works. The goal is to connect map, direction, and landmarks before any tool becomes urgent.
Use simple routines while moving
Set the group pace by the slowest person who can move comfortably. Stay close enough that a voice reaches the next hiker, and regroup at every junction before anyone turns.
At a junction, stop on durable ground, locate the group on the map, read the sign, identify the next landmark, then make the turn together. Do not let the first person disappear while the last person is still approaching.
Take breaks off the travel line where the ground can handle them. Drink, eat, adjust clothing, and check feet before the group is empty.
Carry out wrappers, fruit peels, tissues, and every other item brought in.
Repeat the same routine so fatigue does not invent a new one.
- Approach a junction togetherNobody turns until the last person arrives.
- Confirm the locationUse the map, sign, direction, and a visible landmark.
- Name the next checkAgree on the next junction, bridge, climb, or turnaround.
- Rest on durable groundKeep the tread, signs, water access, and switchbacks open.
- Pass predictablySpeak early, move to a safe durable edge, and let others clear.
- Give wildlife spaceDo not feed, approach, or block an animal's exit.
- Leave as one groupCount people and collect every loose item before moving.
Use the full hiking etiquette guidance for yielding, dogs, groups, mud, rest stops, wildlife, and waste. On the first outing, predictable movement matters more than memorizing a complicated hierarchy.
When should you turn around or call for help?
Turn around when the route stops matching the agreed limits. Time, water, feet, weather, daylight, navigation, temperature, and group behavior count together.
One small issue may be repairable. Stop to tape a hot spot, eat, adjust a layer, or confirm a junction.
Exit when the issue returns, the repair fails, or a second problem removes the remaining margin.
Leave before choices narrow to one slow return.
| Field evidence | First response | When it becomes urgent |
|---|---|---|
| Hot spot or mild pack rub | Stop, repair, and reassess | Pain changes gait or the repair fails |
| Water drops faster than planned | Shorten immediately | The return supply is no longer adequate |
| Route cannot be confirmed | Return to the last known point if safe | Safe retracing is not possible |
| Weather reaches exposed ground early | Leave exposure and use the backup | Immediate lightning, flood, fire, or temperature danger |
| Person becomes confused, faints, cannot walk, or has severe symptoms | Stop, protect the person, and call for help | Treat as an emergency |
| Turnaround time arrives | Reverse or take the planned exit | Never spend the finish buffer to reach the goal |
If you become lost, stop and breathe before moving.
Use the map, compass, GPS, and visible landmarks to locate yourself. Retrace to the last known point only when the route is safe and certain.
When safe self-rescue is not possible, call emergency services with coordinates, trail or area, last known point, surroundings, clothing, equipment, and medical information. Stay put unless an immediate threat to life requires movement.
The NPS Outdoor Emergency Plan gives that sequence.
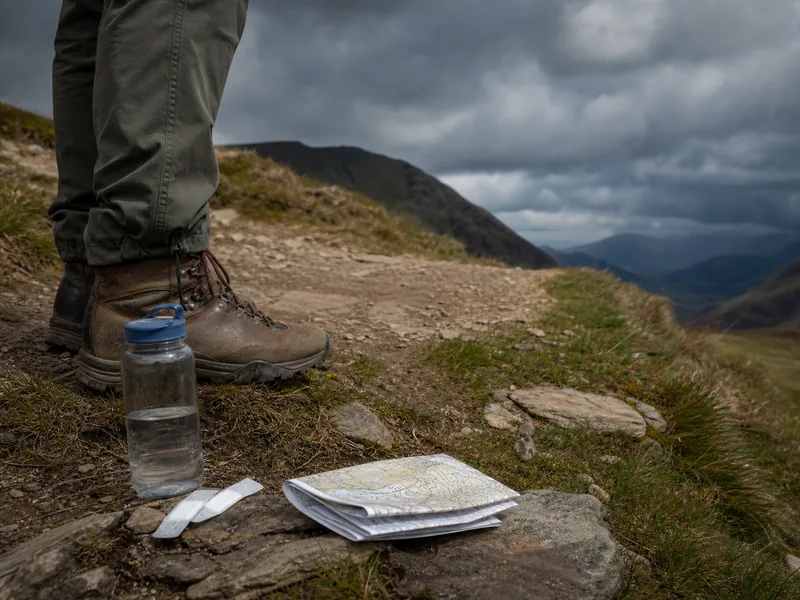
The hiking safety response helps separate a quick repair, a controlled exit, and an emergency call. Do not walk farther only to find phone service when staying in a known safe location gives responders better information.
How should the second hike get harder?
Tell the trusted contact that the group is back before packing the car. Then record finish time, water remaining, food used, foot comfort, navigation doubts, energy on the final mile, and how normal walking feels the next morning.
Repeat the same route or choose an easier one when pain changes gait, the group finished after the planned time, water ran tight, the map stayed confusing, or the return required a push.
When the outing finished with reserve, increase one variable. Add a little distance while keeping climb and surface similar, or add a modest climb while keeping the distance short.
Change one variable so the next result has a clear cause.
| First-hike result | Next decision | Keep unchanged |
|---|---|---|
| Feet and joints comfortable | Add a small amount of distance | Surface, weather, and pack |
| Breathing easy but descent awkward | Repeat with a gentle descent practice | Distance and remoteness |
| Navigation needed help | Repeat on signed junctions with map practice | Route length and weather |
| Water or food ran tight | Fix the carry and repeat an easy route | Distance and climb |
| Finished tired but normal | Repeat before adding difficulty | All route variables |
| Finished with strong reserve | Add modest distance, gain, or surface change | Every other challenge |
A route can also become harder through heat, rain, cold, crowding, altitude, remoteness, or a larger group. Do not add those on the same day as extra mileage.
Keep the review short. One useful note about feet, pace, water, navigation, or timing is better than a long gear wish list.
The first hike is complete when it produces a safe return and a clearer second choice. Progress comes from repeatable evidence, not from making every outing longer.
The return starts at the farthest point
The outward walk does not prove that the return will feel the same. Before leaving the farthest point, compare time, water, feet, weather, and normal walking, because descent fatigue and a warmer afternoon can change a route that felt easy in the morning.
Check the clock against the planned finish instead of against the trail's estimated time. The group still needs time for the actual surface, short repairs, navigation checks, and any slower person.
Count water in volume you can see. If the group used more than half before the farthest point on an out-and-back, turn back with the remaining supply and shorten any optional stop.
Inspect both feet before a long descent. Heel lift may appear on the climb, while toe pressure and hot skin often become more obvious when the shoe repeatedly moves downhill.
Eat a familiar portion while the group is still alert enough to manage wrappers and notice appetite. Waiting until someone is shaky or unusually quiet makes the return slower and can hide a larger problem.
Adjust one layer before movement resumes. A sweaty shirt may cool quickly in wind, while a shell left on during a warm descent can trap more heat than the person expects.
Confirm the first return landmark and direction. An out-and-back view changes when you turn around, and a loop may place unfamiliar junctions or the hardest surface after halfway.
Ask each person for a direct answer about feet, knees, energy, water, and temperature. “Fine” is not enough when gait, speech, or pace already looks different.
Set the slowest comfortable person near the front for the first return segment. Recheck after ten minutes because a sore knee or loose shoe may only change gait once the group starts descending.
Use the vehicle as the finish, not the parking-lot sight line. The last uneven steps, road crossing, or dark corner still count as part of the hike.
Reassess before returning. The farthest point is where the group still has the clearest chance to fix a small problem before every step leads away from the goal.
Step by stepPractical steps
- Decode total distance, route type, cumulative climb, surface, access, estimated time, and exits.
- Test the intended shoes, socks, pack, pace, and foot comfort on a 60 to 90 minute walk near home.
- Check official alerts, permits, access, hourly weather, daylight, and a shorter backup.
- Leave the route, group, vehicle, finish, overdue action, and communication plan with a trusted contact.
- Carry the ten essential systems in forms that fit this route and that you know how to use.
- Confirm the trailhead, then recheck pace, feet, water, and direction in the first 20 minutes.
- Turn around at the agreed threshold and record one variable to keep or change next time.
AnswersQuestions readers ask
How long should a first hike be?
Choose a route shorter than the longest walk you already handle comfortably.
Include the return, climb, surface, weather, breaks, and an early exit. There is no universal mileage that fits every beginner or trail.
How do I know whether trail distance is round trip?
Read the route type and map. An out-and-back listing may show total distance or one-way distance, a loop returns by another side, and a point-to-point route needs transport at both ends.
Confirm the convention before planning time or water.
Can beginners hike in running shoes?
Comfortable running shoes can work on smooth, dry, maintained tread when the sole grips and the foot stays stable. Rough rock, roots, mud, snow, or a heavier load may call for a firmer hiking shoe.
What should a beginner carry on a day hike?
Carry the ten essential systems in forms matched to the route: navigation, sun protection, insulation, light, first aid, fire where appropriate, repair, food, water, and emergency shelter. Practice the items before relying on them.
Is hiking alone safe for a beginner?
A first hike is easier to manage with a calm partner. If you go alone, use a shorter popular marked local route, leave a precise trip plan, carry independent navigation, and avoid remote or committed terrain.
When should a beginner turn around?
Turn around at the agreed time or sooner when water drops too fast, feet change your gait, weather worsens, daylight shrinks, the route is uncertain, or someone cannot walk, think, or regulate temperature normally.
What should I do if I get lost hiking?
Stop and assess.
Locate yourself with the map, compass, GPS, and landmarks. Retrace only when the route is safe and certain.
If safe self-rescue is not possible, call emergency services with precise location details and stay put unless immediate danger requires movement.