
How to Use a Compass to Take and Follow a Bearing
Take a bearing and follow it, even when the trail disappears.
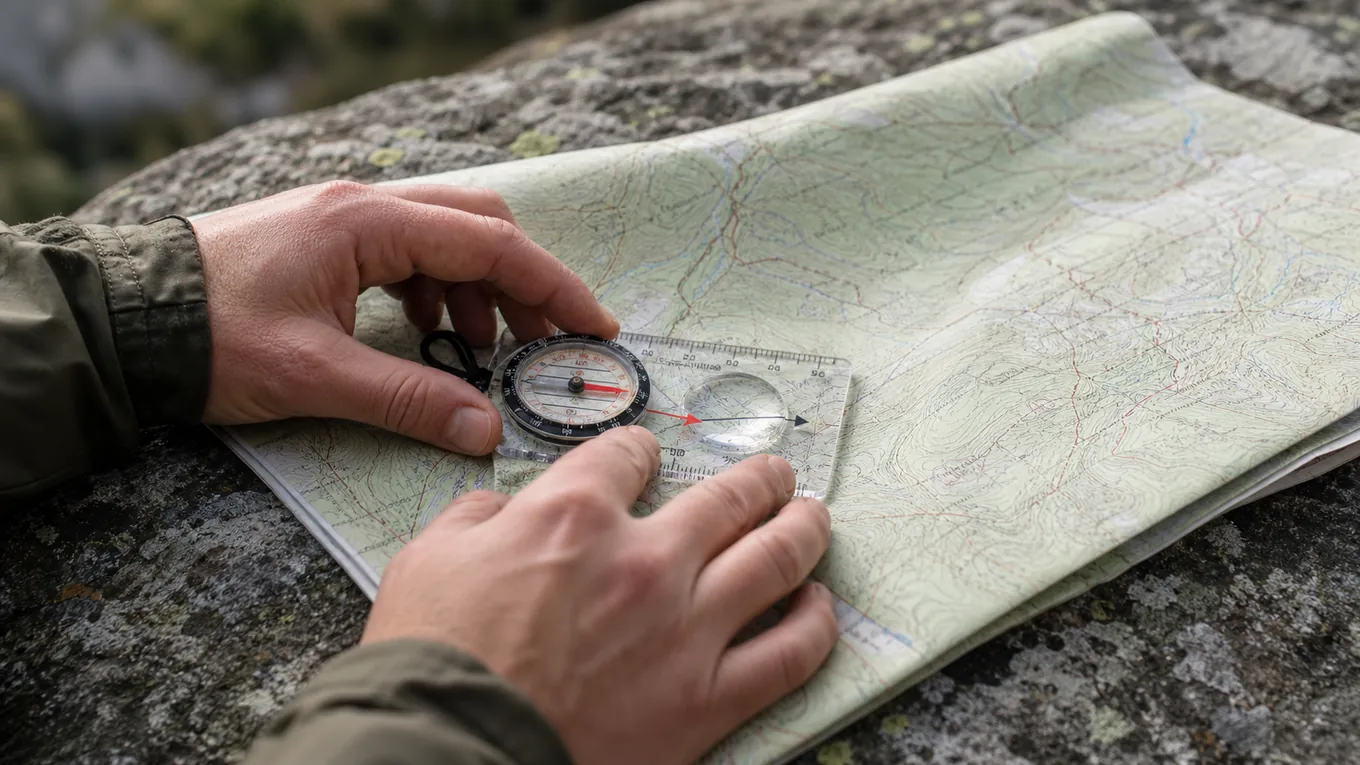
A compass is only useful if you can take a bearing and walk it. The skill is simple, and it works when your phone battery does not.
A compass answers one question, and not the one people expect
A compass points to magnetic north. It does not know the trail, the safest line, or the easiest ground.
Your job is to connect that north reference to a map, a bearing, and a real object you can walk toward.
A compass bearing gives direction. You still choose the route.
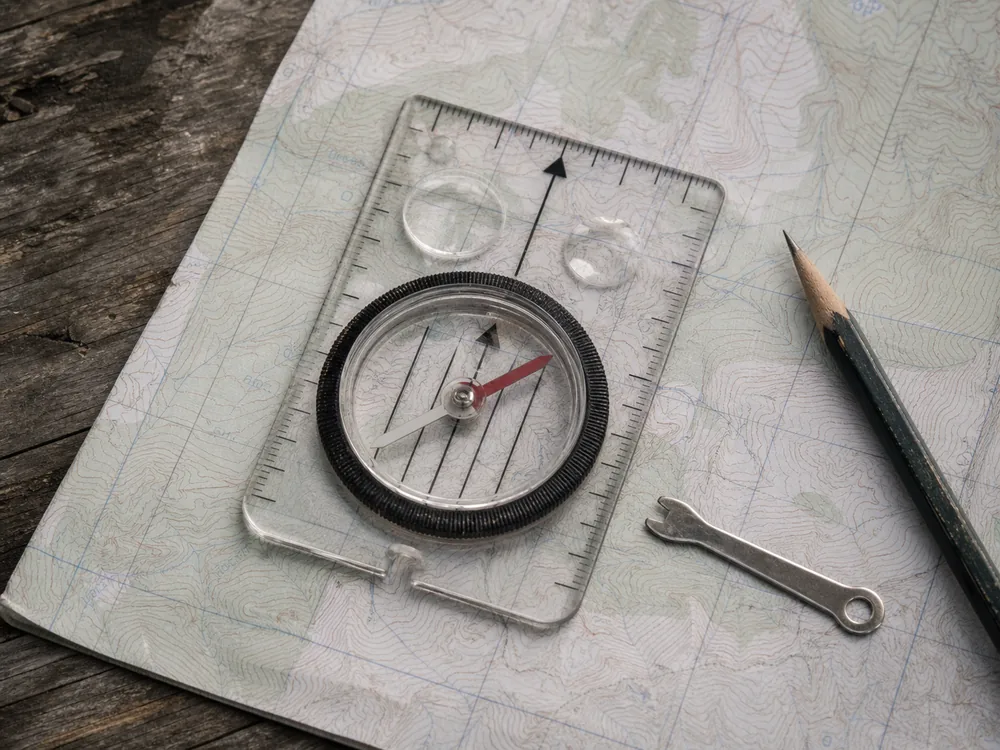
- Needle
- Points toward magnetic north
- Baseplate
- Sits on the map for measuring direction
- Direction-of-travel arrow
- Points where you intend to walk
- Rotating dial
- Holds the bearing number
- Orienting arrow
- Catches the needle when you face the bearing
Hold the compass flat so the needle swings freely. Keep it away from phones, car doors, trekking poles, and belt buckles while you take the reading.
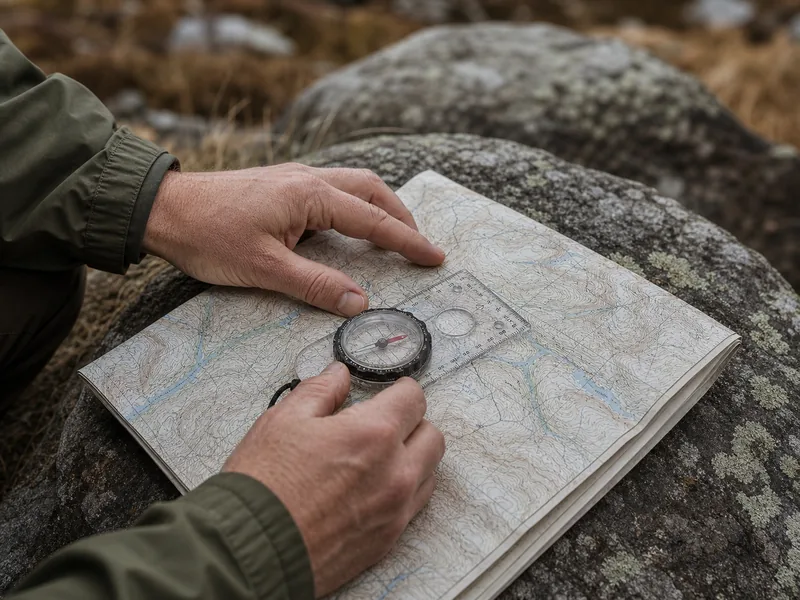
Compass work is one part of broader navigation and outdoor skills. It supports route decisions, but it does not replace weather, daylight, water, or judgment.
How do you make the map match the ground?
Lay the map flat and turn it until the map north lines point the same way as the compass needle. This is called orienting the map, and it makes the paper match the ground around you.
If the map is not oriented, every bearing starts with confusion.
Find your current spot first. Use a trail junction, lake edge, ridge shape, road crossing, or signed feature.
If you are guessing where you stand, the compass cannot fix that guess.
A beginner route with signed junctions is the safest place to practice this skill. First-hike planning should choose that kind of trail.
Trail descriptions can help you pick practice ground, but the trails index is only a starting point. Match it against your current map and signs when you arrive.
How do you transfer a bearing from map to trail?
Put the long edge of the baseplate on the map between where you are and where you want to go. Point the direction-of-travel arrow toward the destination, not back toward your feet.
Turn the dial until the orienting lines inside the compass capsule run parallel with the map north lines. Then lift the compass without moving the dial.
The bearing is the number at the index line after the map and compass agree.
- Place the edgeConnect your current spot to the destination with the compass edge.
- Aim the arrowPoint the travel arrow toward the destination on the map.
- Turn the dialMatch the capsule lines to the map north lines.
- Lift carefullyKeep the dial fixed as you move the compass off the map.
- Turn your bodyPut the red needle inside the orienting arrow.
- Sight a landmarkPick a fixed object on the bearing instead of staring at the compass.
- Walk and recheckConfirm the bearing again after obstacles or terrain force a detour.
When the needle sits inside the orienting arrow, the direction-of-travel arrow points where to walk.
How do you follow a bearing without staring at the compass?
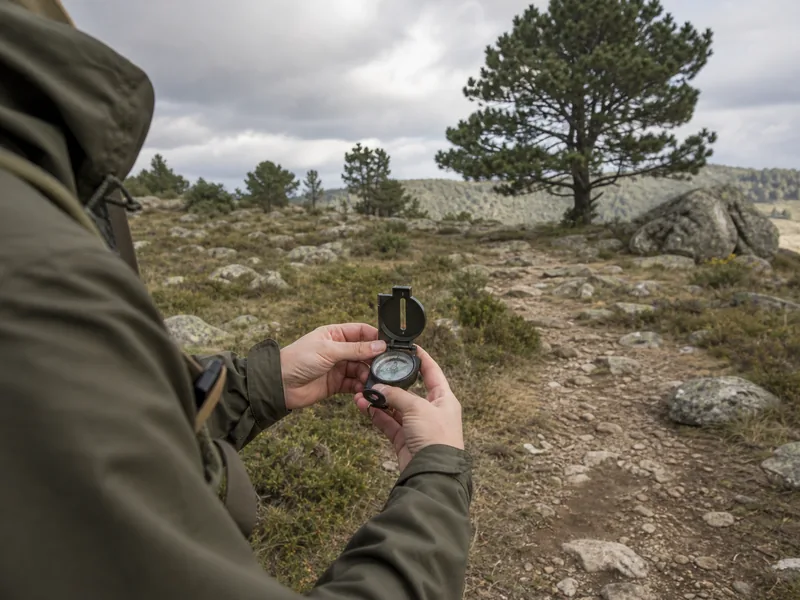
Do not stare at the compass while walking. Hold the bearing, sight a tree, rock, bend in the trail, or other landmark on that line, then walk to the landmark.
At the landmark, check the compass again and pick the next object. This leapfrog method keeps you close to the line while letting you watch your footing.
Walk landmark to landmark, not needle twitch to needle twitch.
Short sightline
Pick a nearby object and recheck often in thick woods.
Open slope
Aim for a rock, lone tree, or shape on the skyline.
Poor visibility
Shorten the distance between checks and slow down.
Group travel
Send one person ahead on the line, then correct before everyone moves.
Fatigue makes people cut corners and stop checking. On longer routes, hiking fitness training helps you stay sharp enough to navigate late in the day.
How do you know how far you have traveled?
A bearing tells you which direction to travel, but it does not tell you when to stop. Measure the map distance before leaving your known point.
Then track progress with at least two clues, such as pacing and elapsed time.
Calibrate your pace count on a measured 100-meter or 100-yard line.
Decide whether you count every step or every time the same foot lands, then keep that definition. Repeat the test several times and use the average.
Your field count will change. Uphill travel, loose rock, brush, snow, fatigue, and a heavy pack usually shorten each step.
A number learned on a flat path can make you think you have traveled farther than you really have.
Time is a useful second check.
If 500 meters normally takes you ten minutes on open ground, dense brush may double that time. Time alone is weak because speed changes, but a large disagreement between time and pace count tells you to stop and reassess.
Use a catching feature beyond the destination whenever the map offers one. A road, stream, ridge crest, or sharp slope change can tell you that you have gone too far.
The best feature crosses your line, so a small left or right drift does not hide it.
Direction plus distance finds the area. Terrain must still confirm the exact point.
If the expected distance ends and the ground does not match the map, do not keep walking to make the landscape fit your estimate. Return to the last confirmed feature or choose a new short leg from a position you can identify.
How do you detour around an obstacle and recover the bearing?
The safe route around an obstacle matters more than holding a perfectly straight line. Never walk into deep water, unstable rock, a cliff band, dense thorn cover, or avalanche terrain merely because the travel arrow points through it.
Before you turn, note the original bearing and look for a fixed landmark beyond the obstacle. A distinct tree, boulder, saddle, or slope break can preserve the line while you move around the hazard.
Choose something that cannot be confused with similar objects nearby.
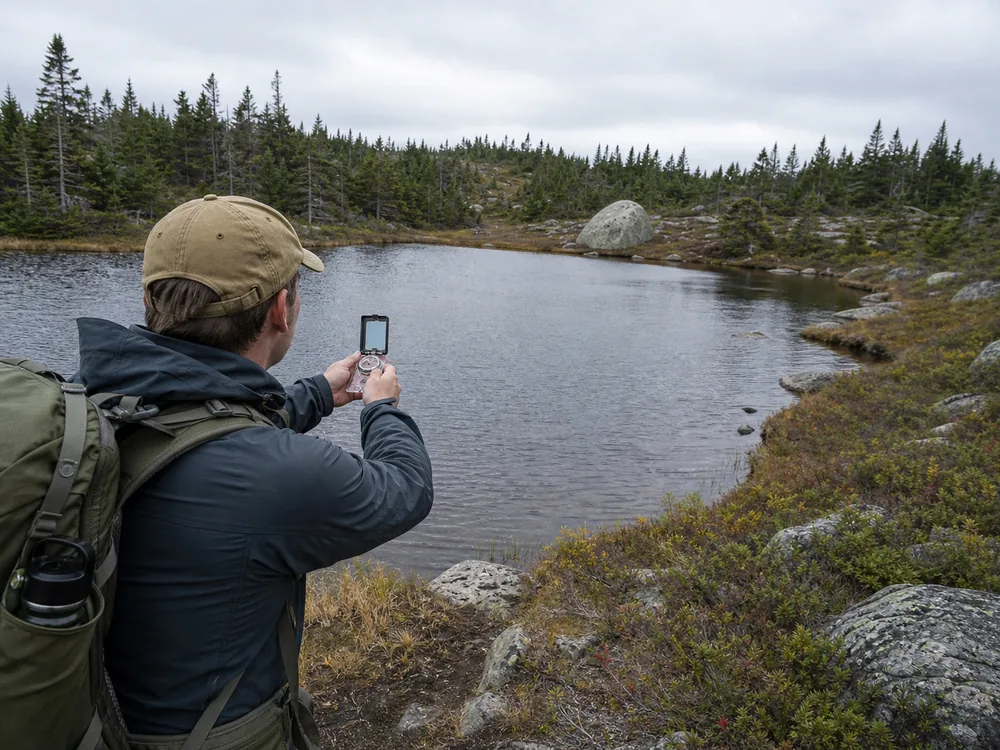
On flat, open ground, you can make a measured box detour.
Turn 90 degrees left or right and count your paces until you clear the obstacle. Turn 90 degrees back toward the original bearing and continue until you pass it.
Then turn 90 degrees toward the original line and walk the same number of side paces. Make the final 90-degree turn to resume the original bearing.
Write down the side count if the detour is long.
Equal pace counts are only an estimate when one side crosses a slope, brush, or loose ground. In rough terrain, use the far landmark and map features instead of pretending the box is exact.
Recover the line after the hazard. Do not let a safe detour quietly become a new bearing toward the wrong valley or ridge.
Check the map again once you are past the obstacle. Confirm the far landmark, your estimated distance, and a second terrain feature before continuing.
What if the trail disappears or visibility drops?
Slow the problem down before you walk farther. Stop at the last certain point, mark it on the map, and choose a short bearing to a feature you can confirm, such as a creek bend, road, ridge, or signed junction.
Do not use a compass to justify a guess. If the map, ground, and bearing do not agree, backtrack to the last known point while the distance is still small.
In poor visibility, a short confirmed bearing beats a long hopeful one.
On a maintained trail, a painted trail blaze may confirm the tread after fog or brush hides the next turn. It must agree with the map and bearing.
Across bare rock, an existing cairn sequence may provide the same confirmation where the land manager uses those markers. One isolated rock pile is not enough evidence.
How do you apply declination without reversing the correction?
Apply declination before you depend on a map bearing. Magnetic declination is the signed angle between true north and magnetic north at a particular place and date.
It changes with location and over time.
Start with a current value for the trip area.
A map collar shows the value for the year the map was made, which may now be stale. NOAA's current World Magnetic Model and declination calculator cover specific coordinates and dates.
An adjustable-declination compass is the simplest field method. Follow that compass model's instructions to move the orienting arrow by the local East or West angle.
Once set, take and follow map bearings normally until you travel far enough that the local value changes.
Check the setting before every trip.
Adjustment mechanisms differ, and forcing the wrong screw can damage the compass. A small piece of tape on the case can remind you that a correction is already set.
If your compass has no adjustable declination, use signed arithmetic consistently. NOAA defines East declination as positive and West declination as negative.
For a map bearing, the magnetic bearing equals the map bearing minus the signed declination.
A 70-degree map bearing with 12 degrees East becomes a 58-degree magnetic bearing. The same 70-degree map bearing with 8 degrees West becomes 78 degrees because subtracting negative eight adds eight.
The reverse conversion uses the opposite operation. A magnetic bearing becomes a true bearing when you add the signed declination.
Write the formula in the map margin rather than trusting a rhyme that you may reverse under stress.
One correction method per trip. Do not set declination on the compass and also change every bearing by hand, because that applies the correction twice.
For a short practice walk on a marked trail, a rough bearing may show the basic motion. For off-trail travel, poor visibility, or a long leg across open country, use the current correction.
Place research can tell you whether a route crosses open basins, forest, ridges, or confusing junctions. Destination profiles provide context, while the map owns the exact line.
Remote trekking gives you less margin than a local day hike. The hiking and trekking comparison explains why time, load, and help change the decision.
A few compass mistakes send people exactly backward
Most compass mistakes are simple. The map is not oriented, the travel arrow points backward, the dial gets bumped, or the compass is tilted so the needle drags.
Slow compass work is faster than walking fast in the wrong direction.
Stop before you set or change a bearing.
Navigation rule
| Mistake | What happens | Fix |
|---|---|---|
| Travel arrow points backward | You walk away from the target | Recheck arrow direction before lifting the compass |
| Needle not boxed | You face the wrong line | Turn your whole body, not just your wrist |
| Compass tilted | Needle sticks or drags | Hold it flat at chest height |
| Metal nearby | Reading shifts | Step away from phones, cars, and steel gear |
| No landmark picked | You drift with every obstacle | Sight a target, walk to it, then repeat |
| Declination ignored | Map north and magnetic north diverge | Apply the local correction before relying on a long bearing |
Weather and cold hands make these errors more likely. If a cold, wet day affects speech, grip, or judgment, hypothermia response becomes part of the navigation problem.
One drill makes compass work feel ordinary
Practice in a park, field, or easy trail junction before you rely on a compass in a hard place. You want the motions to feel boring when the stakes are low.
Set a bearing to a visible object, walk to it, then turn around and take a back bearing toward where you started. Repeat with three different objects.
The skill is ready when you can use it without rushing.
- You can name the compass parts without looking them up.
- You can orient a map before choosing a bearing.
- You can set a bearing and keep the dial from moving.
- You can sight a landmark and walk to it.
- You can stop when the terrain makes the straight line unsafe.
Navigation sits beside the rest of your trip plan.
Trip planning owns daylight, water, weather, and turnaround habits. The compass keeps those choices pointed in the right direction.
Sources
The USGS compass instructions explain map bearings, adjustable declination, and field conversion. The NOAA magnetic declination reference defines the East and West sign convention.
NOAA's World Magnetic Model provides current magnetic-field data for navigation.
Step by stepPractical steps
- Hold the compass flat so the needle swings free.
- Set your bearing on the rotating dial.
- Turn your body until the needle sits in the arrow.
- Sight a landmark along the travel line and walk to it.
AnswersQuestions readers ask
Do I need to adjust for declination?
For short marked-trail practice, a rough bearing may be fine. For serious navigation, set the compass to the local declination from a current map or reliable map source.
Which arrow do I follow on a compass?
Follow the direction-of-travel arrow after you turn your body until the magnetic needle sits inside the orienting arrow.
Should I keep looking at the compass while walking?
No.
Sight a landmark on your bearing, walk to it, then check again. This keeps your feet safer and reduces drift.
Can a phone replace a compass?
A phone is useful, but batteries, signal, broken screens, and wet touchscreens can fail. A simple baseplate compass is a durable backup.
Why does my compass point the wrong way?
Common causes are nearby metal, a tilted compass, the travel arrow pointing backward, or a dial that moved after you set the bearing.