
Use the Rest Step to Climb Steep Slopes at a Steady Pace
A precise walking technique that transfers each pause from tired muscles to the straight rear leg.
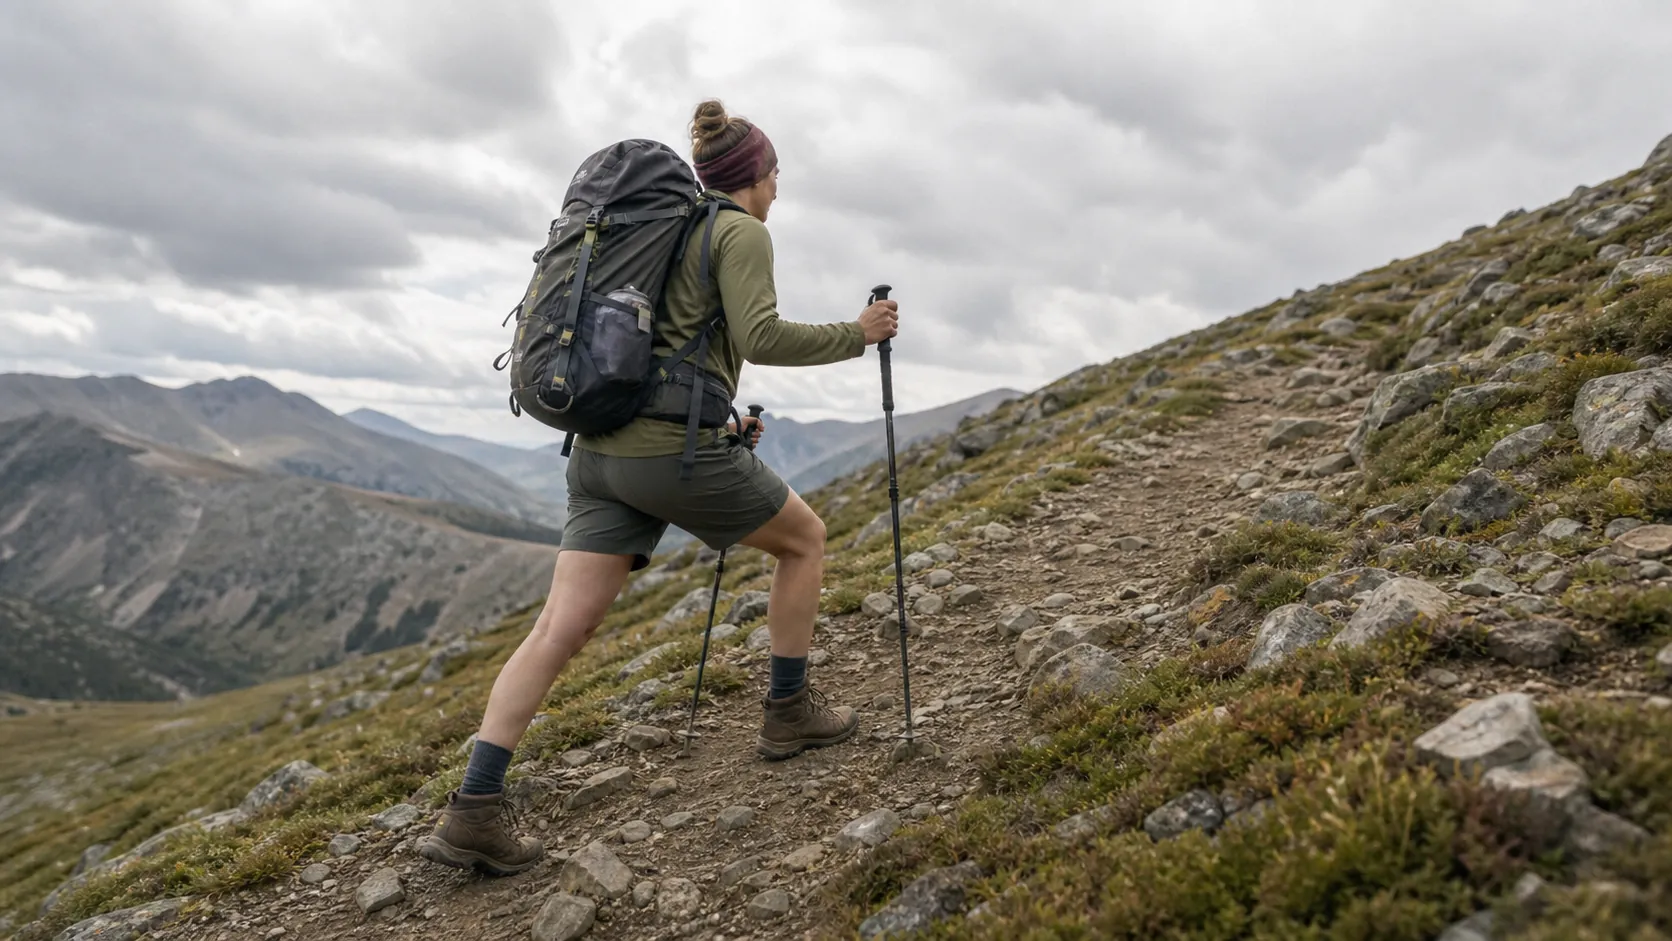
To use the rest step, place one foot uphill, straighten the downhill leg for a brief skeletal pause, then move the rear foot forward. The pause may last less than a second, but repeating it at a steady rhythm can reduce leg fatigue during long, steep climbs.
Pros
- A brief straight-leg pause transfers body weight from working muscles to the rear leg's bones.
- A steady cycle can keep breathing and group pace controlled on long climbs.
- Short steps keep your center of mass over secure footholds.
Cons
- It does not make loose, icy, exposed, or technical ground safe.
- Snapping the knee backward or leaning on poles can create pain and poor balance.
- A long pause after every step can make movement jerky and inefficient.
The technique works because the rear leg supports your weight while the uphill foot becomes ready for the next step. The pause is the skill, and it disappears if both knees stay bent or your body continues rising as soon as the front foot lands.
Use the rest step to manage muscular effort, not to chase a faster time. It is most valuable when a climb is long enough that small savings repeat for hundreds of steps.
The rest step transfers your weight onto bone, not muscle
A rest step is an uphill walking cycle with a brief pause on a straight downhill leg. You step up with one foot, shift your center over it, straighten the leg left behind, and let that leg carry your weight before it advances.
The United States Army mountain movement manual describes the same basic pattern. It tells climbers to keep weight centered, use broad sole contact, straighten the knee after each step, and maintain a moderate steady pace.
This is different from stopping with both legs bent. Bent knees keep the quadriceps working, so the pause feels slow without giving those muscles much relief.
You can feel the difference on level ground. Stand with one knee softly bent for ten seconds, then repeat with the leg comfortably straight and the hip stacked above the foot. The straight position should feel supported rather than tense.
Bones carry the pause. The knee reaches a comfortable straight position, but it should not snap backward or jam into hyperextension.
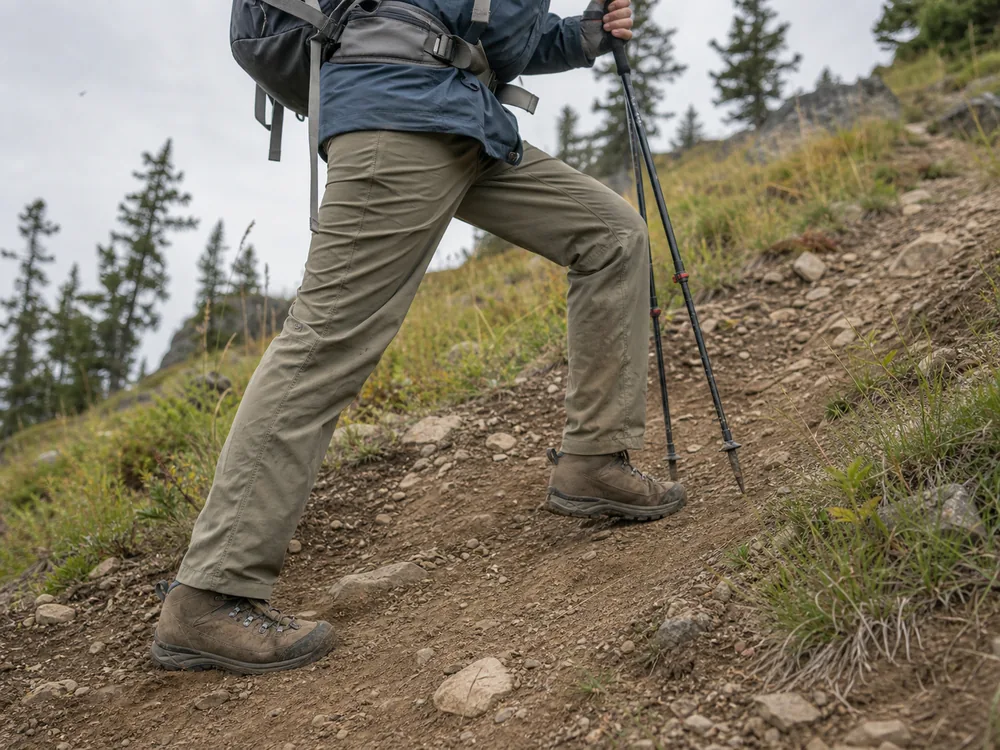
If straightening the knee causes pain, changes your balance, or requires a forceful lock, stop using the technique and return to ordinary short steps. Joint comfort matters more than preserving the pattern.
How do you perform one complete cycle?
Begin on a stable moderate slope where a stumble has no serious consequence. Keep your torso tall enough that your hips remain above your feet instead of folding at the waist.
One complete rest-step cycle
- Plant the uphill footSet the whole boot on a secure patch when the slope allows.
- Shift your centerMove the hips over the uphill foot without lunging.
- Straighten the rear legLet the downhill knee reach a comfortable straight position.
- Exhale during the pauseUse the same breathing count for several steps.
- Advance the rear footBring it forward smoothly and begin the next cycle.
The feet should move quietly. A boot that scrapes, stamps, or searches after landing is telling you the step was too long or the foothold was poorly chosen.
Keep the uphill foot far enough forward to accept your weight but close enough that the hips can move over it without a surge. On an uneven trail, step height will vary, so preserve the weight transfer rather than forcing identical stride length.
Shorten before you strain. On a steeper grade, a shorter rise usually protects rhythm better than a harder push.
What should your upper body and trekking poles do?
Your upper body stays balanced over your feet. A small forward lean from the ankles can match the slope, but bending deeply at the waist moves weight forward and makes the legs catch your body on every step.
Poles can support balance and rhythm when their tips land beside or slightly ahead of the feet. They should not haul you uphill through straight arms because that loads the shoulders and can hide weak foot placement.
| Body part | Useful position | Common error | Correction |
|---|---|---|---|
| Eyes | Scan several steps ahead, then confirm the next foothold | Looking only at the boots | Alternate near-foot checks with a wider terrain scan |
| Torso | Tall, with hips over the supporting foot | Folding forward at the waist | Shorten the step and bring the hips forward |
| Rear knee | Comfortably straight for a moment | Forceful backward snap | Use a softer straight position with no joint impact |
| Poles | Light balance and timing support | Pulling the body uphill | Reduce hand pressure and trust the planted foot |
| Breath | Repeatable count matched to steps | Breath holding during the push | Exhale through the effort and pause |
A sound backpack fit also matters. A load that hangs behind your hips forces extra forward lean and makes the straight-leg pause harder to find.
Loosen your shoulders and let the arms swing naturally when poles are not needed. Tension in the hands, jaw, and shoulders often accompanies a pace that is too hard, so those areas give an early warning before the legs fail.
Balance comes before rhythm. Reset your stance whenever the poles, pack, or slope pull you away from the supporting foot.
How should breathing match the step?
Use a breathing pattern that you can repeat without gasping. One breath per step may work on a moderate climb, while a harder grade may require a full inhale and exhale around each foot placement.
The exact count matters less than consistency. If you cannot speak a short sentence, your effort may be too high for a pace you need to sustain for hours.
Groups can use a shared count on very steep sections. A clear group trekking pace lets the leader set short steps while followers leave space to choose secure footholds.
At altitude, the rest step can organize movement, but it does not prevent altitude illness. Follow an appropriate high-altitude pace and do not climb higher with worsening symptoms.
Breath controls speed. The legs should follow the breathing rhythm instead of racing ahead and demanding recovery stops.
The rest step suits some terrain and endangers you on the rest
The rest step is most useful on long, steady uphill grades with secure footing. Firm trail, stable dirt, durable grass, and well-kicked snow steps can provide the predictable support the pause needs when you prepare for repeated climbing.
Loose scree and rolling talus, wet roots, narrow ledges, and hard snow change the priority. On those surfaces, active balance and precise foot placement matter more than straightening the rear leg on schedule.
A rain-soaked trekking trail can turn firm ground into mud and slick roots, so reassess the technique after conditions change.
Switchbacks may briefly flatten the grade at each turn. Let the stride become normal on those easier meters, then return to the rest step when the slope becomes sustained again.
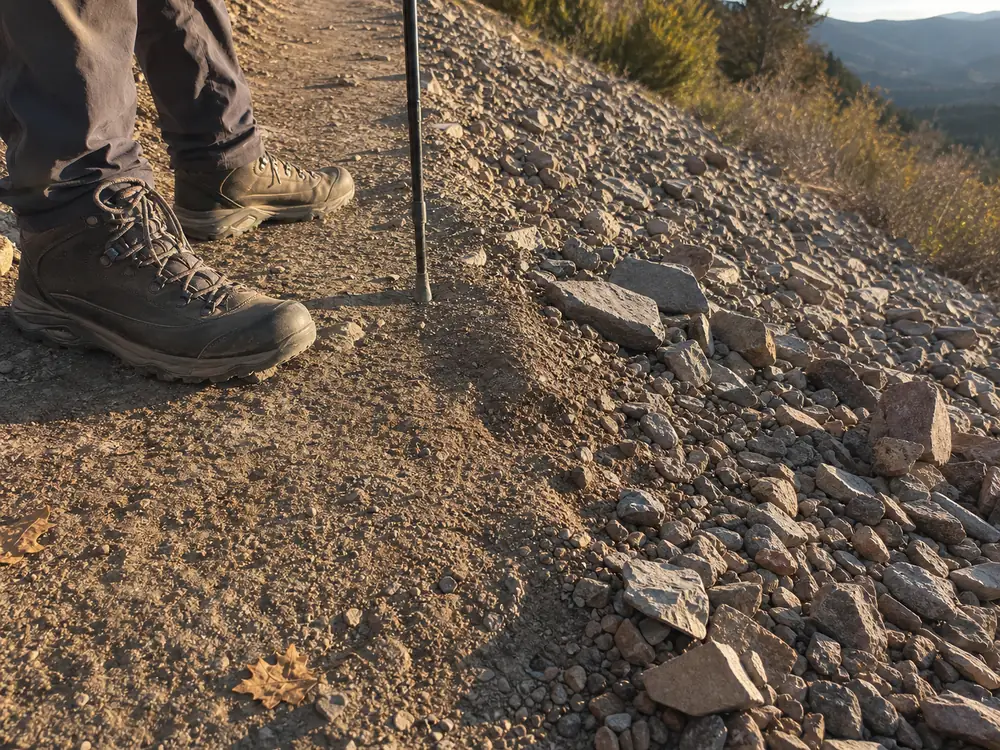
The technique is not a substitute for crampon, ice axe, rope, or avalanche skills. A winter trekking plan must match equipment and skill to the surface, while guidance from the Mountaineers emphasizes secure steps and the consequences of a fall.
On exposed ground, the trekking safety margin comes from protection, stable movement, and a route the group can reverse.
Use it only on secure ground. If a slip could send you into rocks, a cliff, or an uncontrolled slide, choose the movement and protection appropriate to that terrain.
The rest step feels wrong before it feels efficient
The most common cause is a step that is too high. This belongs among trekking mistakes that accumulate because each large rise demands more force from the front leg.
A second cause is leaving the hips behind. When the front foot lands but your weight remains downhill, the front thigh must pull the body forward and upward at the same time.
- Reduce step height until the foot lands without a lunge.
- Place more of the sole on the ground when the surface allows.
- Move the hips over the supporting foot before advancing.
- Keep the rear knee straight only long enough to feel the load transfer.
- Relax the grip and shoulders instead of hauling on the poles.
- Return to normal walking if either knee hurts.
Fatigue can also expose a poor pattern. If the first ten steps feel smooth but the next ten become noisy and uneven, slow down and rebuild the cycle rather than forcing it.
Watch for pain location. Burning thigh muscles usually point to too much step height or too little pause, while calf fatigue often comes from pushing off the toes instead of placing more of the sole on the ground.
Smooth beats dramatic. A small repeatable pause saves more energy than an exaggerated stop that disrupts balance.
How can you practice before a long climb?
Practice on a safe hill for sets of 20 to 30 steps. First exaggerate the pause just enough to identify which leg is carrying your weight, then shorten it until the movement looks nearly continuous.
- Choose a safe practice slopeUse stable ground where a stumble has no serious consequence.
- Walk ten ordinary stepsNotice where the quadriceps stay loaded.
- Repeat with the pauseStraighten the rear leg briefly after each weight transfer.
- Shorten the strideReduce step height whenever the pause disappears.
- Review one faultCorrect only foot placement, knee position, balance, or breathing in each pass.
Record a side view or ask a partner to watch your hips and knees. The rear knee should straighten while the hips stay stacked above the foot, with no backward snap.
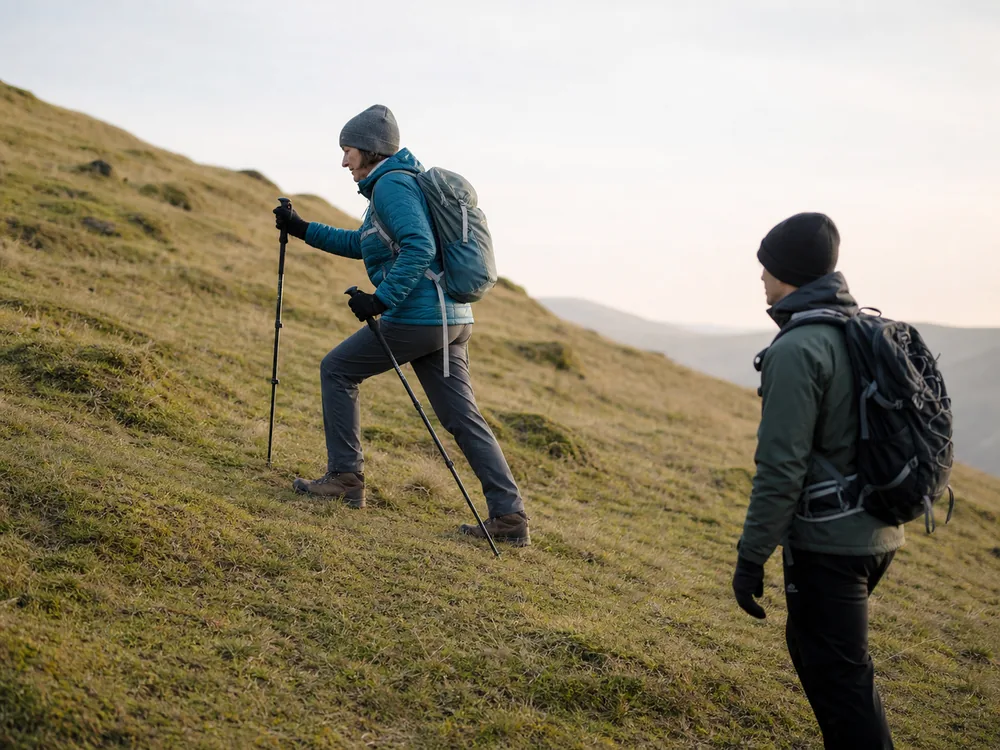
Add a light trekking pack only after the unweighted motion feels stable. Later, practice during trekking training on a climb similar to the route.
Finish practice with ordinary walking so you can change techniques without hesitation. On a real climb, terrain may alternate between firm tread, stairs, roots, and loose rock within a few minutes.
Test the movement on both sides. A consistent stumble or shorter pause on one leg can reveal soreness, pack imbalance, or a mobility limit that deserves attention before a long route.
Use a simple comparison during the final practice set. Walk 30 ordinary uphill steps, note breathing and thigh effort, rest fully, then walk 30 rest steps at the same slope and similar speed.
The useful result is a smoother sustainable effort, not a dramatic feeling after one stride. Stop while the pattern is clean because practicing through shaking legs teaches compensation.
Repeat the comparison on a slightly steeper safe slope only after the first test feels balanced. Keep the same footwear and pack so the slope is the only changed variable.
Write down where the rhythm breaks. A daily mileage decision is more useful when you note that the right foot lands too far ahead because it gives you one fault to correct.
Practice where mistakes are cheap. The goal is to make the movement automatic before fatigue, altitude, or a heavy pack narrows your attention.
How does the rest step change with a heavy pack?
A multi-day load changes what the pause is worth. The heavier the pack, the more weight the straight rear leg has to carry as bone instead of muscle, so a climb that felt easy with a daypack rewards a slower, more deliberate rest step once you shoulder a full load.
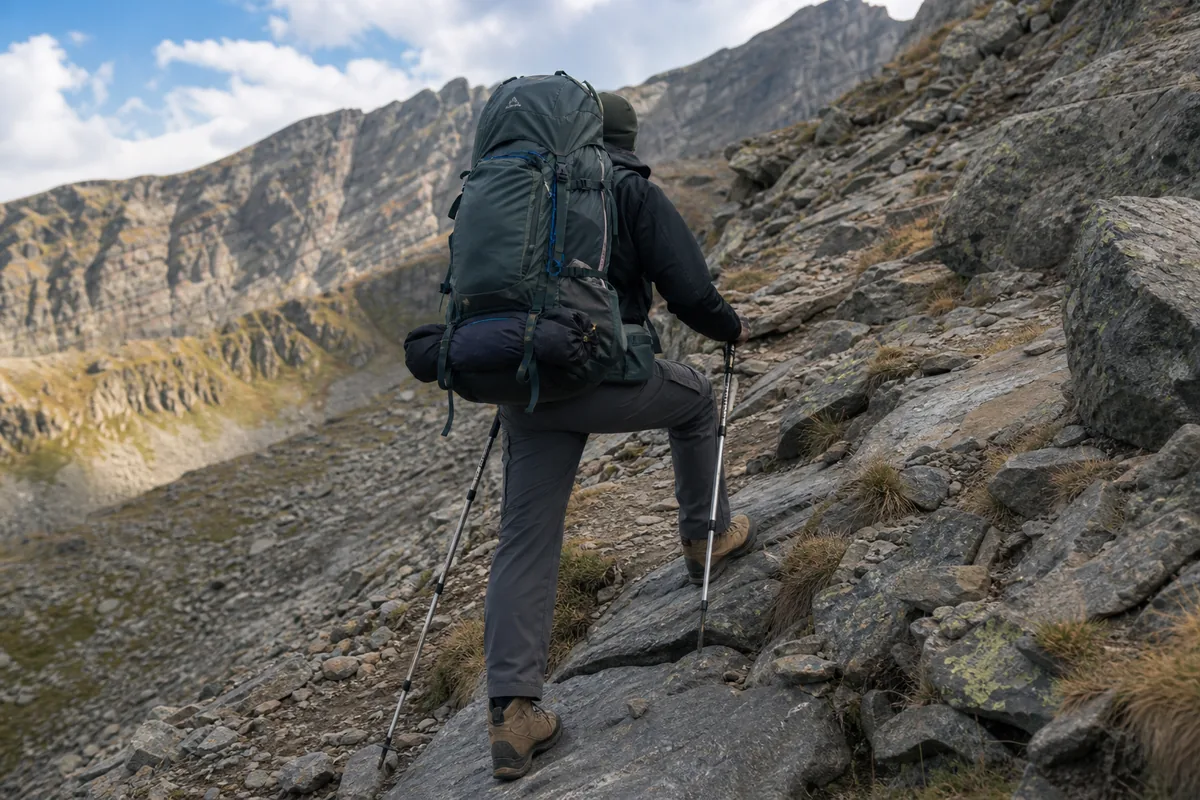
Keep the steps shorter and the feet flatter as the pack gets heavier. A high step under a heavy load forces the quadriceps to lift your whole body weight plus the pack in one push, which is exactly the effort the rest step exists to spread out. Lower steps and a full straight-leg pause break the same climb into more, cheaper movements you can repeat for hours.
Under a heavy pack the legs need a longer pause on bone before the next lift, so hold that rhythm for the whole ascent rather than speeding up when the slope briefly eases. Rushing the cycle turns a steady climb into a series of surges that drain the whole group.
Watch how the load rides while you climb. A pack that sways or tugs you off the planted foot breaks the weight transfer the rest step depends on, so settle the load and tighten the hipbelt before a long ascent instead of fighting it step by step. A load that pulls backward cancels the balance the pause is meant to give you, so a pack that fits and rides close does as much for a loaded climb as the footwork itself.
Sources
The U.S. Army mountain movement manual describes centered weight, broad boot contact, knee straightening, moderate steps, and steady pace. The Mountaineers steep snow tutorial explains why secure footing, runout, snow condition, and protection override a generic walking technique.
AnswersQuestions readers ask
Does the rest step require locking your knee?
The rear knee reaches a comfortable straight position, but it should not snap backward. Stop if straightening causes joint pain or poor balance.
How long should you pause?
Usually less than a second. The pause only needs to transfer weight onto the straight rear leg before the next step.
Can you use the rest step with trekking poles?
Yes. Use poles lightly for balance and timing, not to pull your body uphill.
Does the rest step work on stairs?
Wide outdoor steps can help you learn the weight transfer, but tall stairs may force a larger step than you would choose on a trail.
Should you use it on loose scree or hard snow?
Only when each foothold is secure and the consequences of a slip are low. Loose or exposed terrain may require a different movement technique and specialized equipment.