
How to Keep Your Feet Working on Consecutive Trekking Days
Treat foot care as a morning, trail, and evening routine before small irritation changes the whole itinerary.
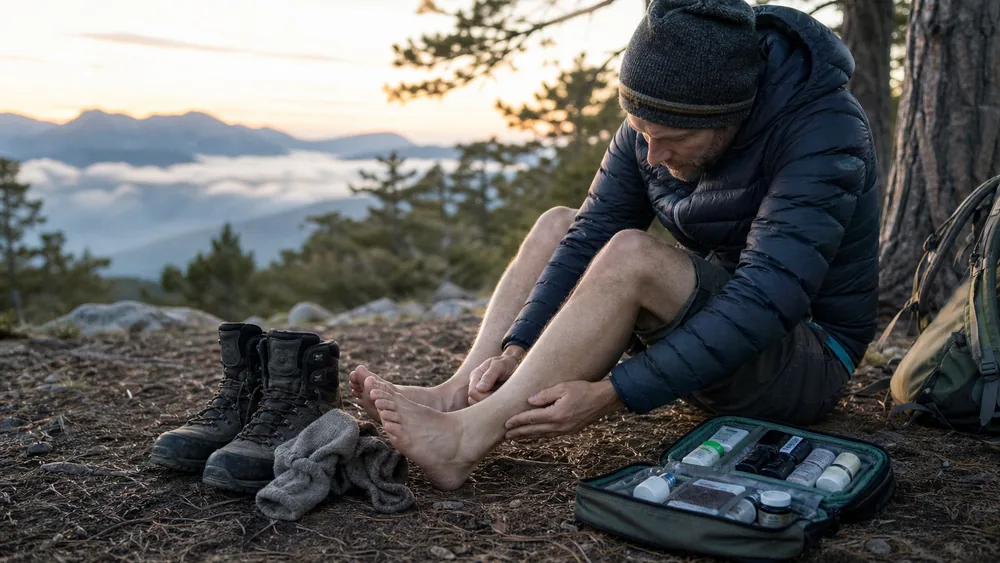
To manage your feet on consecutive trekking days, inspect them every morning, stop at the first hot spot, keep socks as dry as conditions allow, and reset both feet and footwear each evening. The useful routine begins before pain changes your stride, because compensating for one sore area can overload the ankle, knee, or opposite foot.
After the march, when conditions permit, repeat foot care methods, wash and dry socks, and dry boots.
U.S. Army ATP 3-21.18
That routine matters more on a trek because the same feet must work again the next morning. Recovery starts at the last stop, not when you put the pack on again.
By the third morning, yesterday's small heel mark has either settled or become the first decision of the day. You compare it with what you saw at camp, choose the tape and lacing before the group leaves, and decide whether the planned descent still makes sense. The aim is not perfectly clean feet. You need intact skin, enough room in the footwear, and a walking pattern that remains normal.
What should you do before day one?
Start with footwear that has already covered several long training days. A boot that feels acceptable for one hour can create pressure after repeated descents, heat, and swelling.
Complete one loaded route test on similar ground, then inspect both feet before changing the footwear system.
Trim toenails straight across several days before departure. Leave enough nail to protect the toe, then file sharp corners that could catch a neighboring toe or sock.
- Walk at least one training day with the trip socks, insoles, and loaded pack
- Check heel hold on climbs and toe clearance on steep descents
- Identify every place that commonly becomes warm or red
- Practice the exact tape or dressing method you plan to carry
- Pack one dry sleep pair that never goes onto the trail
- Know how to loosen laces without letting the heel slide
Do not begin with a new insole, sock system, or aggressive callus removal. Test changes during trekking training while a poor choice can still be reversed at home.
A sound backpack fit also protects the feet. Excess load and pack sway increase braking force and encourage a heavy, uneven step.
Test the complete system. Footwear, socks, pack weight, terrain, and daily duration work together.
What belongs in a two-minute morning foot check?
Look at the soles, heels, sides, toes, nails, and spaces between the toes before putting socks on. Compare both feet for redness, swelling, cuts, cracks, softened white skin, or a tender point.
Press around yesterday's sore areas. Pain that is sharper, wider, or deeper than the night before should change the day before the group leaves.
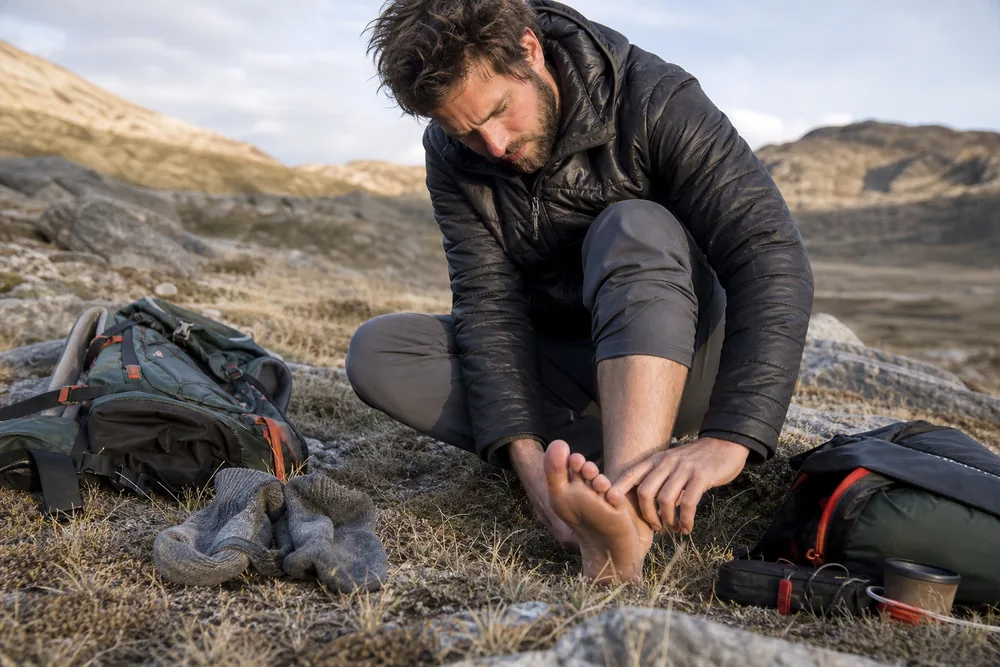
CDC foot-hygiene guidance recommends washing feet daily, drying them completely, changing socks at least daily, and checking for cuts, sores, swelling, and nail changes. On a dry camp, use a small amount of clean water and a cloth rather than soaking the skin.
Apply tape only to clean, dry skin. Smooth every edge, then put on the sock without dragging the tape backward.
Walk for two minutes before tightening every lace. If the feet are already swollen, use lower-volume socks or adjust the lacing instead of forcing them into yesterday's setting.
A trek rest-day decision should include the morning comparison, not only general tiredness.
Compare with yesterday. Direction of change matters more than one isolated mark.
What should you do at the first hot spot?
Stop as soon as you feel heat, rubbing, pinching, or a repeated sting. Ten minutes spent early can prevent hours of altered walking.
Treat walking through a hot spot as a preventable error because intact warm skin is easier to protect than an open blister.
- Choose a safe stopping placeGet off the tread without standing on fragile ground.
- Remove one shoe and sockKeep the other foot protected in cold, wet, or dirty conditions.
- Find the causeCheck grit, wrinkles, wet fabric, insole movement, lacing, and footwear seams.
- Dry and clean the skinRemove moisture and debris without scrubbing the irritated area.
- Reduce friction or pressureSmooth the sock, adjust lacing, or apply the tested protective dressing.
- Walk a short testStop again if the same sensation returns within several minutes.
Do not place thick padding directly over a pressure point and make the shoe tighter. A ring-shaped dressing can unload an intact blister, but the complete dressing must fit inside the footwear.
The U.S. Army explains that small foot movements create friction between skin and sock, and sweat makes that friction worse. Dry synthetic-blend or wool-blend socks can manage moisture better than a wet cotton sock.
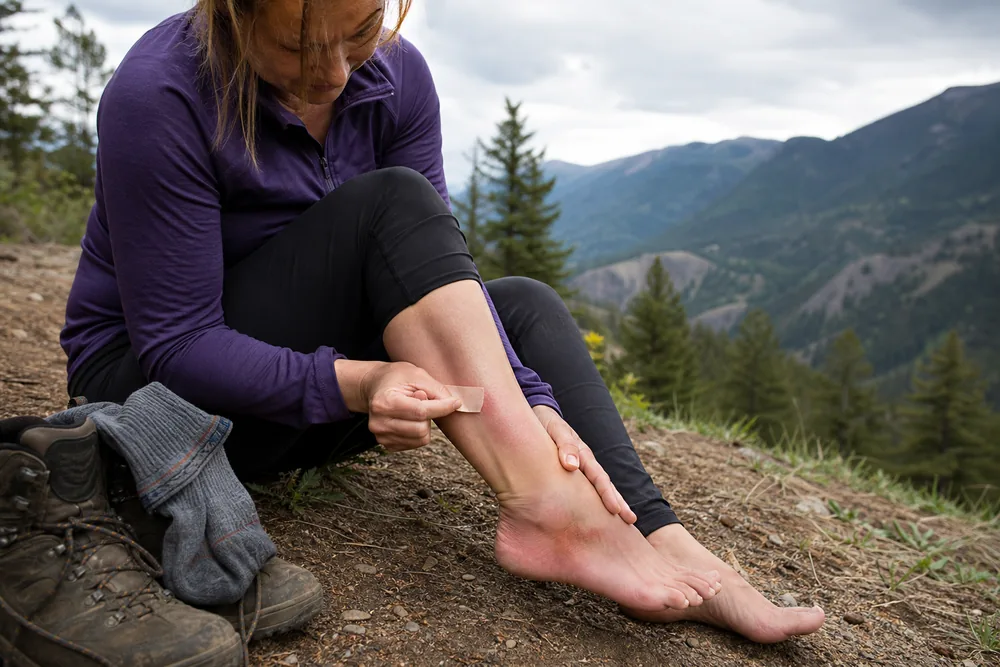
Check your stride after the repair. Limping or rotating the foot outward transfers load elsewhere, so use a shorter daily trekking stage once that page is live if normal gait does not return.
Heat is the alarm. Do not wait for visible fluid under the skin.
How do you manage wet feet during the day?
Wet skin softens and becomes easier to damage. Change the moisture source when possible, then create a drying opportunity before the next long descent.
| Cause | Immediate action | Next check |
|---|---|---|
| Sweat | Vent clothing and change to a dry sock | Recheck the same hot spots in 30 minutes |
| Rain entering from above | Adjust shell, gaiter, and trouser overlap | Check the ankle cuff and sock top |
| Water crossing | Drain footwear and wring socks away from water | Inspect between toes before continuing |
| Persistent mud | Remove grit and clean the insole surface | Check for wrinkles and seam pressure |
| Cold wet conditions | Add warmth and keep moving safely | Watch for numbness or pale, waxy skin |
Do not assume waterproof footwear keeps feet dry. Sweat can remain inside, and water entering over the cuff can be slow to escape.
Carry trail socks inside a waterproof bag. Rotate the driest pair forward, while the dedicated sleep socks remain protected.
During trekking in rain, use short inspection stops rather than leaving shoes off long enough for the whole body to cool. Wet wind and quiet behavior can become hypothermia signs before the feet are fully managed.
Prolonged cold wet exposure can cause immersion injury. Numbness, unusual color, swelling, or loss of normal sensation needs more than a sock change.
Dryness is a moving target. The useful goal is less moisture, less grit, and frequent skin checks.
How should you reset your feet each evening?
Remove footwear soon after reaching shelter. Wash or wipe the feet with clean water, then dry carefully between every toe.
Inspect the skin under good light. Record the location of each hot spot, blister, cut, swollen nail, or tender joint so the morning comparison is specific.
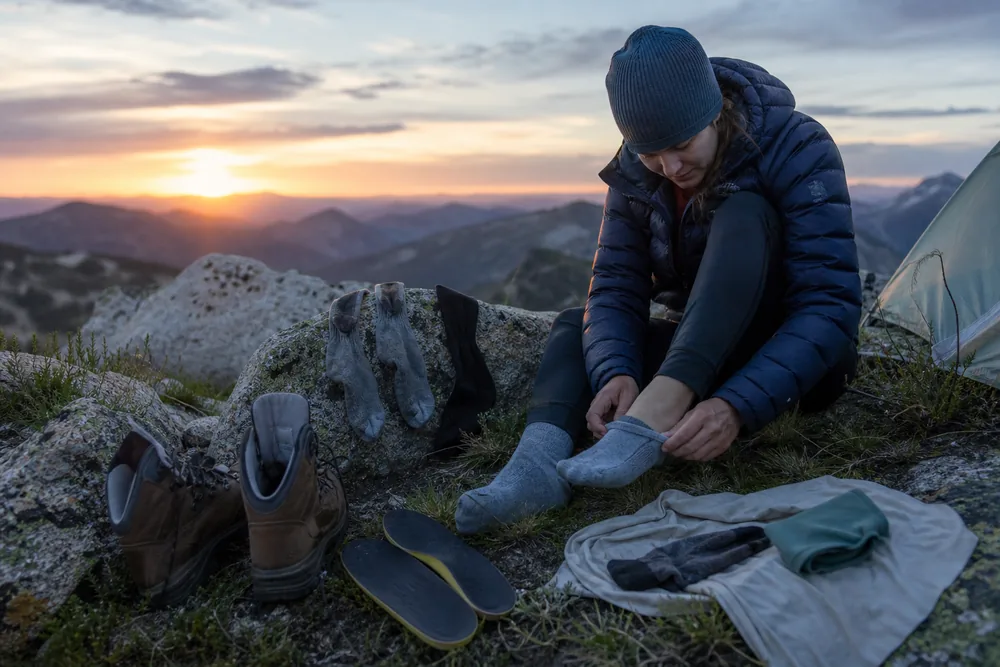
Remove insoles and open the footwear to air. Avoid intense direct heat, which can damage adhesives, foam, leather, or waterproof membranes.
Change into dry sleep socks and camp footwear with enough room for swelling. Keep bare feet off dirty communal floors and soil where cuts can collect debris.
Eat and drink enough to support recovery using the trekking food plan. A tired person often skips the small care tasks that protect tomorrow.
Finish the full reset. Dry boots alone do not repair damaged skin or a poor next-day plan.
How do socks, insoles, and lacing change across several days?
Feet may swell as hours, heat, and repeated impact accumulate. Loosen the lacing over the forefoot or arch when pressure increases, but keep enough heel hold to prevent sliding.
Heel lift
Use the heel-lock pattern you tested, then stop if it concentrates pressure at the ankle.
Forefoot pressure
Skip or relax an eyelet over the sore area while keeping the shoe secure.
Toe contact
Shorten the stride downhill and check whether the foot is sliding forward.
Wet sock
Replace it, remove grit, and inspect the skin before continuing.
Compressed insole
Check for edge curl, shifting, packed grit, or a new pressure ridge.
Swollen foot
Reduce sock volume and lacing pressure rather than ignoring numbness.
Rotate socks by condition, not a rigid schedule. A clean pair that became soaked in ten minutes is not more useful than a well-rinsed pair that dried overnight.
Never add a second thick sock merely to fill loose footwear unless you trained with that combination. Extra fabric can wrinkle and reduce toe room.
Use a trekking packing system that keeps the active repair kit reachable without unpacking the shelter or sleep system.
Adjust one variable at a time. That lets you tell whether the sock, lace, insole, or pace solved the problem.
When should foot trouble shorten the stage?
Shorten the day when pain changes normal gait, the dressing repeatedly fails, swelling increases, or the person cannot protect the wound from dirt and moisture.
Pros
- Continue cautiously when the cause is removed, skin is intact, and normal walking returns.
- Recheck after a named distance or time instead of waiting for pain.
- Use an early exit while transport and daylight remain available.
Cons
- Do not hide worsening pain with tighter lacing.
- Do not split the group so an injured trekker walks alone.
- Do not treat a booked bed as a reason to continue limping.
Redness that spreads, increasing warmth, pus, fever, severe swelling, numbness, or pain that prevents footwear requires medical assessment. People with diabetes, poor circulation, reduced sensation, or immune problems need a lower threshold for care.
Deep, pinpoint bone pain or pain that persists at rest may indicate more than skin friction. Stop loading the foot and seek appropriate evaluation.
Use the group's trekking safety margin to choose the exit. An early short day is easier to absorb than several days of compensating gait.
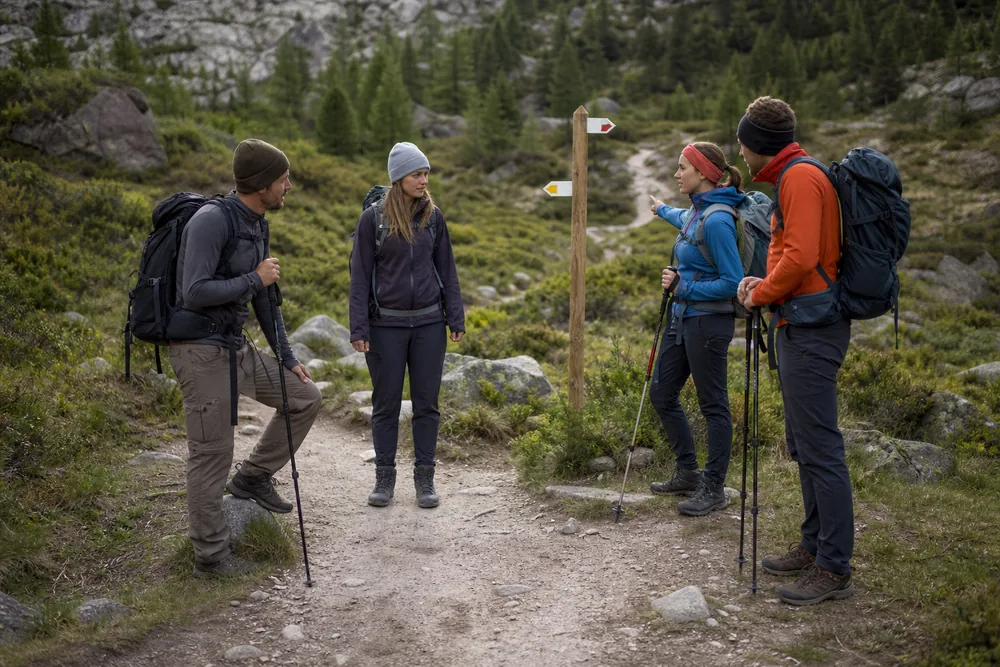
A normal stride is the gate. If you cannot restore it, change the stage.
What belongs in a compact foot-care kit?
Carry tape tested on your skin, blister dressings, sterile gauze, a small cleaning supply, nail clippers or file, spare socks, foot powder if appropriate, and a few adhesive bandages.
Add any clinician-recommended supplies for existing conditions. Do not carry medication or drainage tools you do not know how to use safely.
Split essential blister care between group kits on a remote route. A solo trek check-in plan also needs an exit trigger for foot trouble because nobody else will notice a changed gait.
Carry practiced tools. A smaller kit you can use correctly is better than an improvised clinic.
Give the kit a fixed, labeled pocket and tell the group where it is. Keep it dry and reachable, because a hot spot should not wait while everyone empties five packs.
At each resupply, replace used dressings and tape. Count the remaining supplies against likely foot problems and trekking days, not against the amount packed at home.
Should you drain a blister on a multi-day trek?
Most blisters should stay closed. Intact skin is the best cover a blister has, and a small, soft blister that does not press against the boot will usually settle on its own if you pad around it and fix the rubbing that caused it. Opening it only adds an open wound to manage.
Drain only a large, tense blister that will burst under load anyway. When a blister is full, painful, and sits exactly where the boot presses every step, a controlled drain is cleaner than a rupture on the trail. Wipe the skin, sterilize a needle with an alcohol pad or a flame, and pierce the edge in two or three places, not the top, then press the fluid out gently.
Leave the roof of skin in place, because that loose skin is a natural dressing over the raw layer beneath. Keep the roof intact until the skin underneath dries, then cover the blister with a clean dressing and a friction patch that spreads the rubbing away from the spot. On a multi-day trek washing is limited, and an open blister is an easy way to pick up an infection.
Check it every morning and evening, and know when to stop walking on it. Spreading redness, warmth, swelling, pus, or a red streak running from the blister means infection, and that is the point to shorten the stage and seek help rather than tape over it and push on. Carry only the draining tools you actually know how to use, and leave anything beyond simple first aid to a clinic.
Sources
The U.S. Army foot-march manual covers daily inspection, sock changes, lacing relief, washing, drying, and footwear care. CDC foot-hygiene guidance supports daily cleaning, complete drying, sock changes, and skin checks. The U.S. Army blister guidance explains friction, moisture, hot-spot protection, and signs that need further care.
AnswersQuestions readers ask
Should you tape your feet before every trekking day?
Tape only known trouble areas with a method you have tested. Remove or replace tape when it wrinkles, loosens, traps grit, or irritates the skin.
How often should you change trekking socks?
Change wet or dirty socks when you can and begin each day with the driest clean pair available. Dry the used pair on your pack only when weather and trail conditions allow.
Should you pop a trekking blister?
Small intact blisters are usually best protected rather than opened. Large, painful, infected, or complicated blisters need appropriate first aid or medical advice.
Why do boots feel tighter after several days?
Feet can swell during long days, heat, and repeated impact. Adjust lacing and sock volume, but stop if numbness, loss of circulation, or persistent pain develops.
When should foot pain end the day?
Shorten or stop the day when pain changes your gait, a wound cannot be protected, swelling worsens, or redness, warmth, drainage, numbness, or severe pain appears.